
Combining multiple sheets across workbooks
Overview
This article explains how to combine data, that resides across multiple worksheets, and across multiple workbooks, into a single table.
The following approach will only work if: all the workbooks are in the same folder, and all the data, across all the worksheets and workbooks that need to be combined, are in the same format.
However, it is possible that the workbooks have:
- Different number of worksheets
- Worksheets that are not necessary for the processing that can be excluded
Steps
- Create 2 functions:
- a function to extract the valid worksheets from one workbook
- a function to transform data in a single worksheet
- Call both functions to extract the data from all the Excel workbooks in the folder
A high-level summary of the whole approach is provided below:
Function to extract all valid worksheets from a workbook
The steps involved here are to:
- Get data from one Excel file (the sample file for the function).
- Select Transform data and get into Power Query Editor. This gives a list of all sheets in the workbook.
- Filter the table to retain only the valid sheets.
- Next create two parameters – file path and file name to turn the query into a function.
- Call the function fnAllSheetNames.
This function will extract all the valid sheets from a workbook given the file path and file name.
1. Load the data from the Sample file
- Click on Get Data ➔ From File ➔ From Workbook
- Select one of the files

- Select the Transform Data button in the next window that appears.
The data should load as follows:
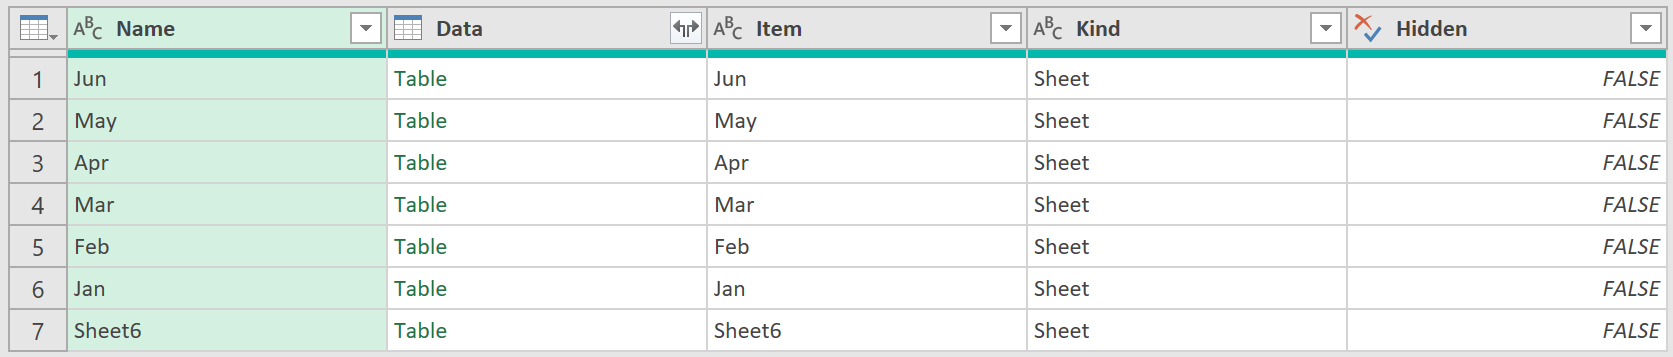
- Filter out the sheets not needed by applying the following filter to the ‘Name’ column

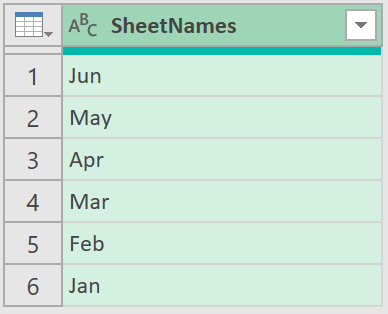
- After this, delete all columns except the first one
- Rename the column to ‘SheetNames’, so that you are left with this:
2. Set up parameters
- Click on the gear icon next to the ‘Source’ step
- Navigate to the Advanced tab, and select ‘New Parameter’
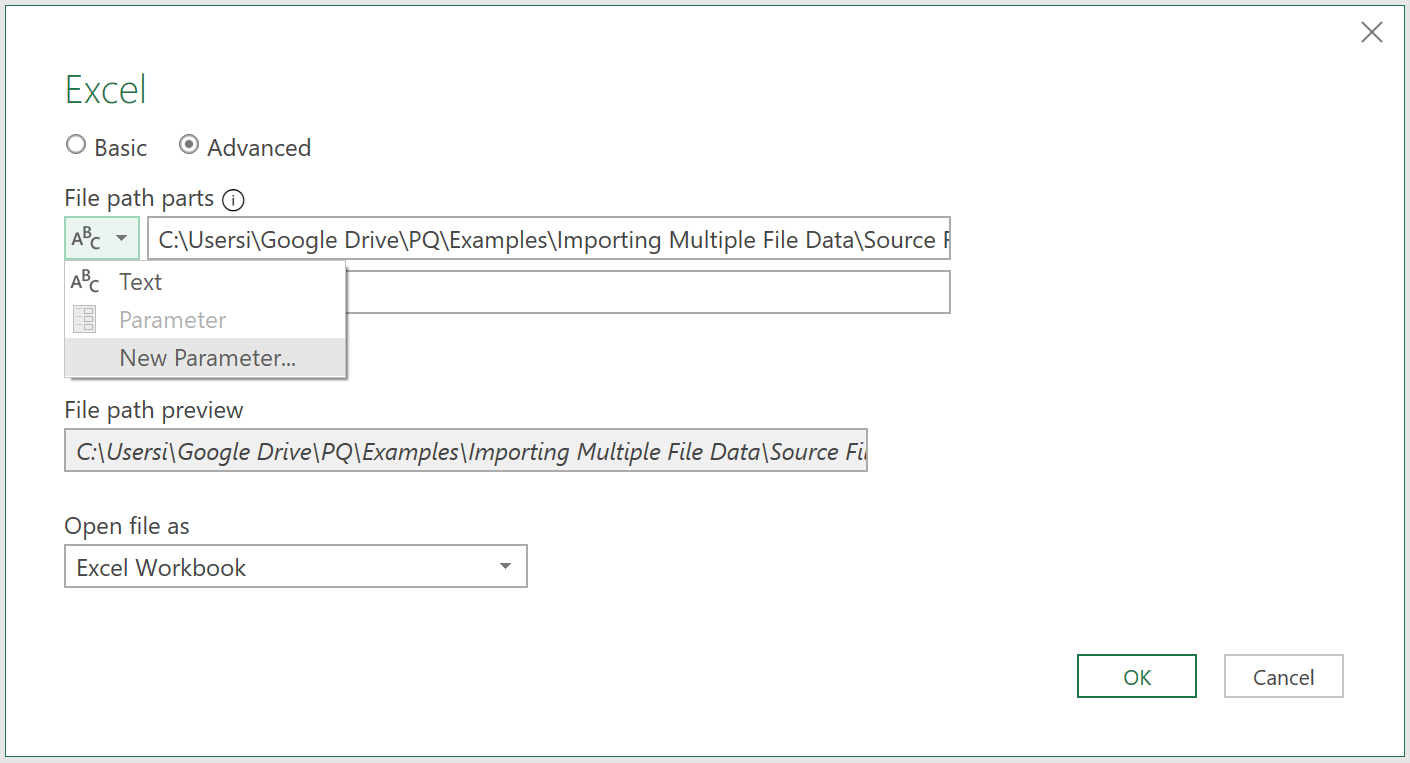
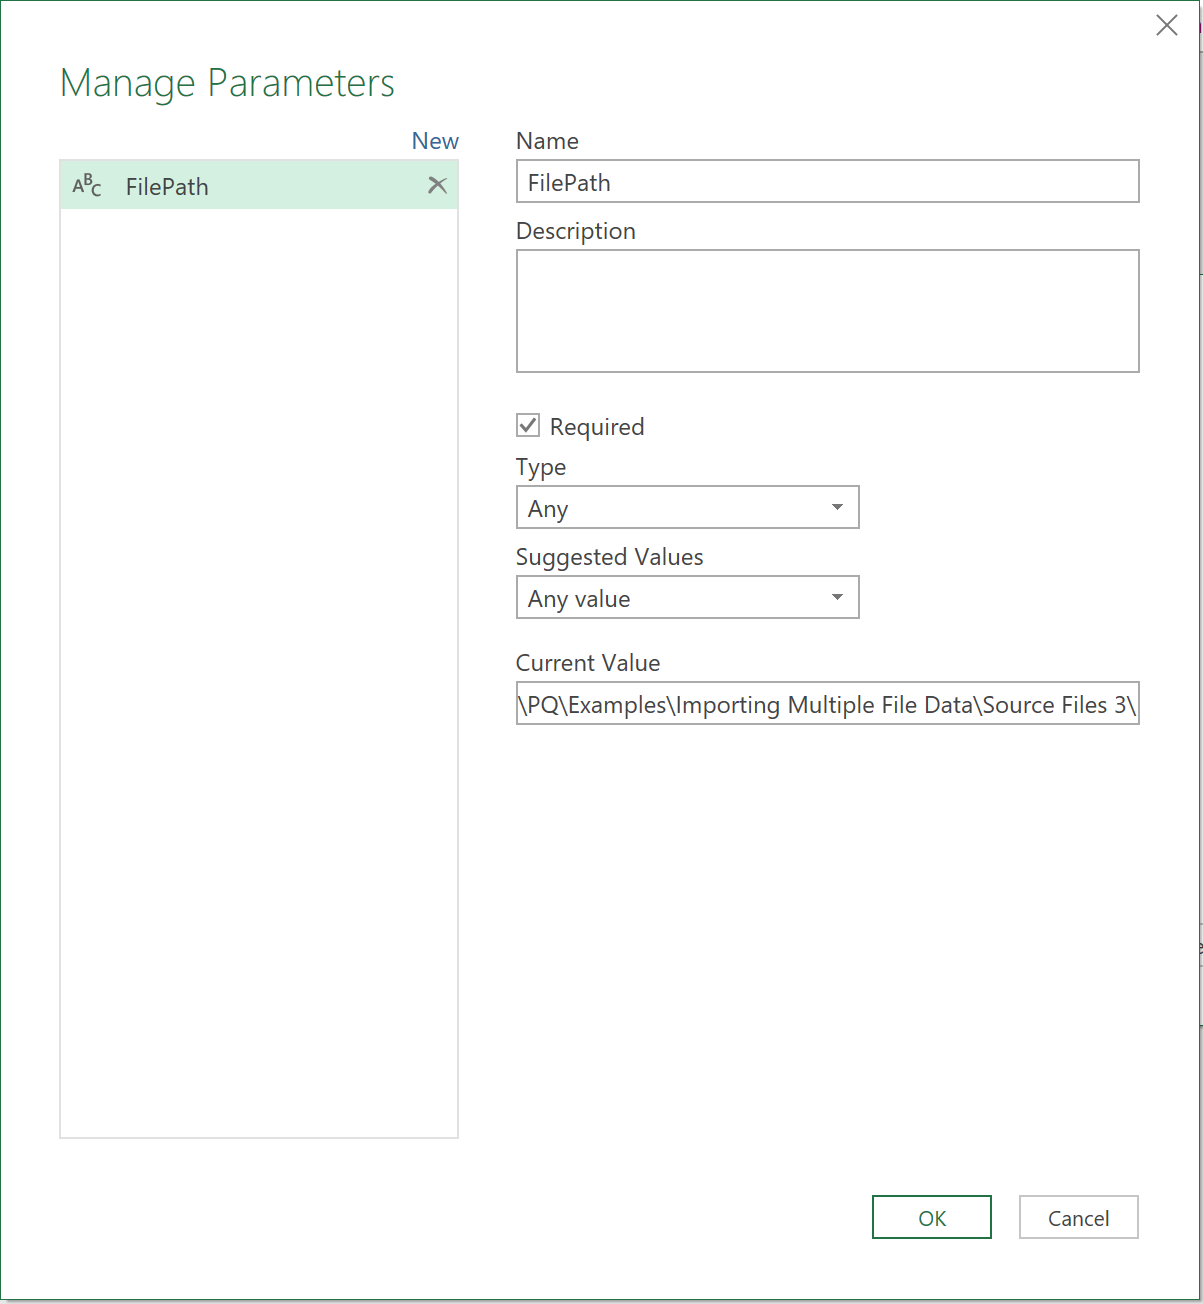
- Create a parameter called FilePath. Put the file path value in the ‘current value’ field
- Select ‘New Parameter’ again in the second field of the following window
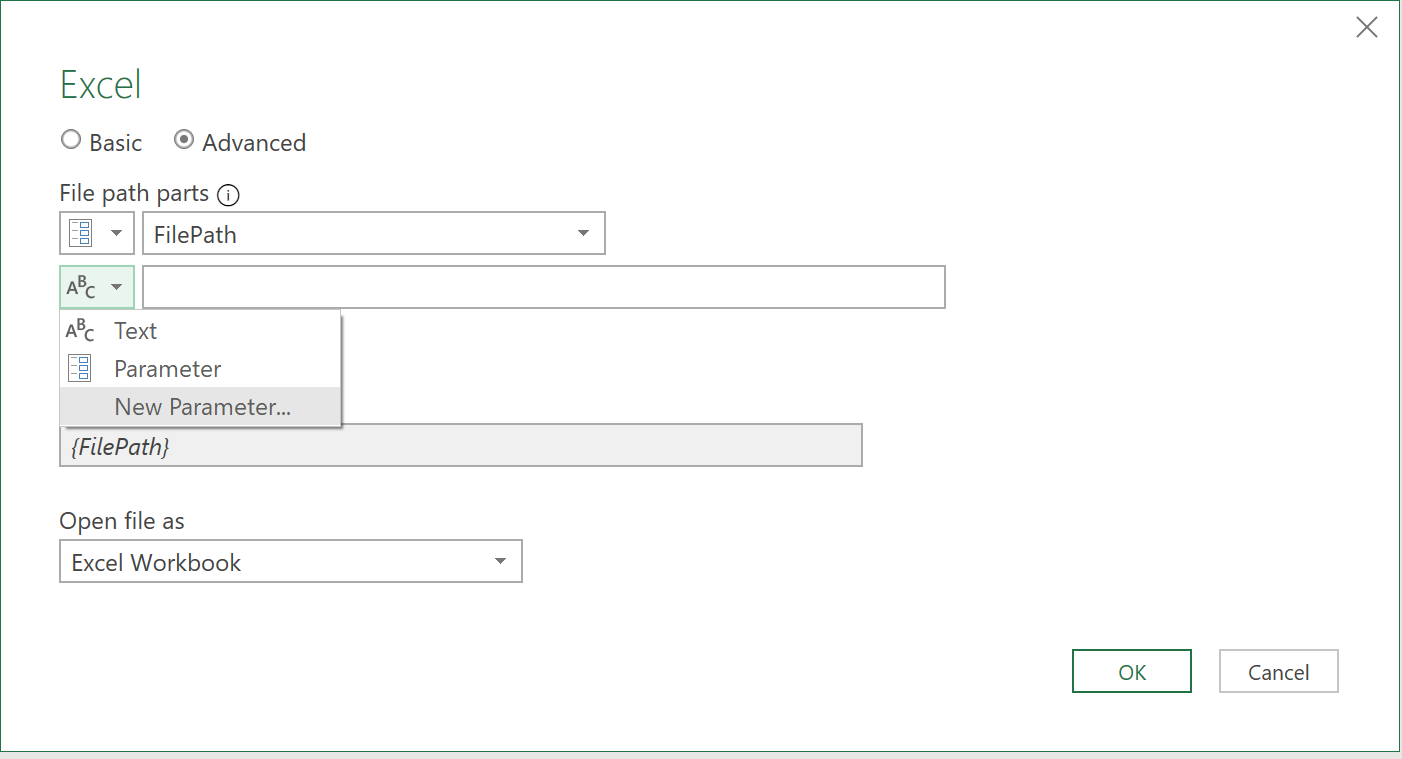
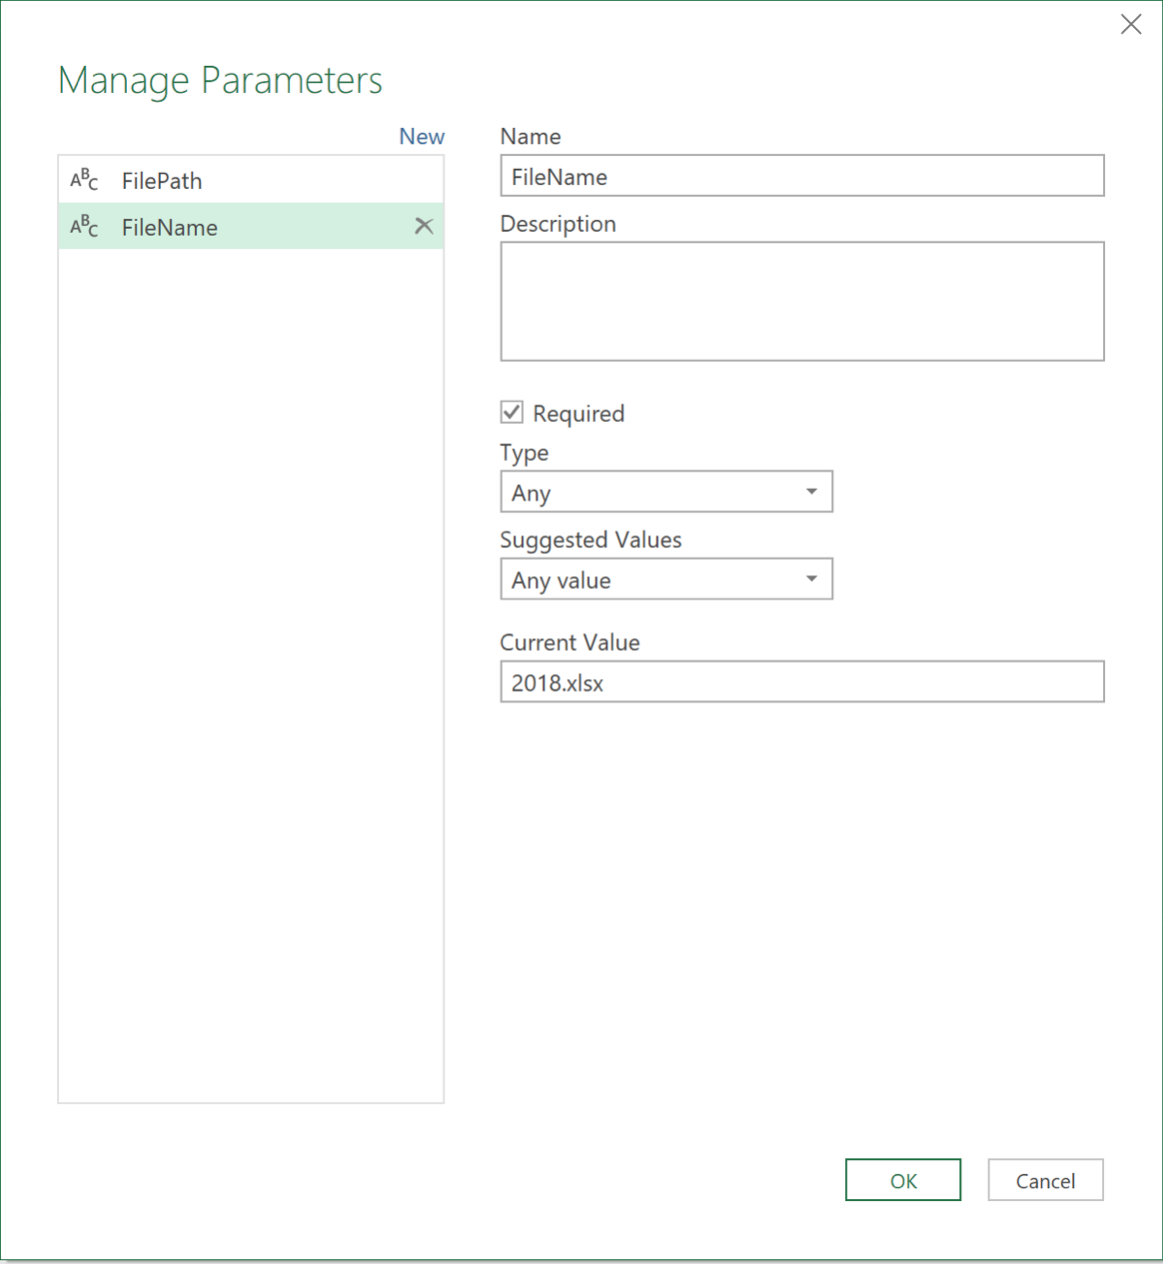
- Create a second parameter called FileName. Put the file name in the ‘current value’ field
3. Turn the query into a function
- Right-click on the query and choose the ‘Create Function’ option
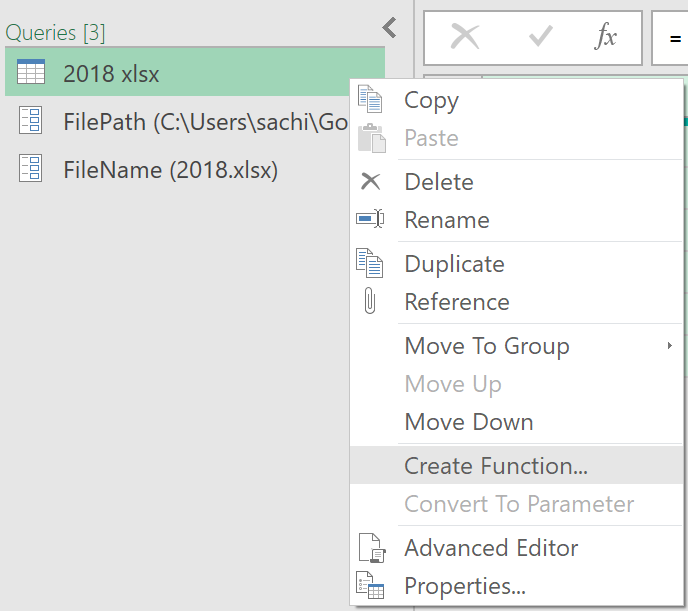
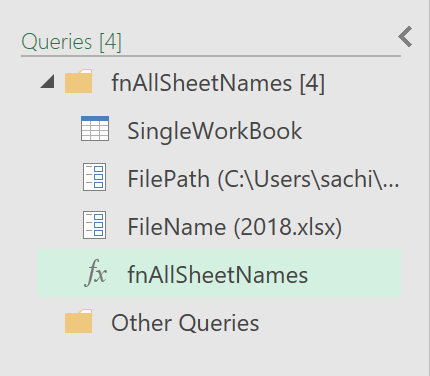
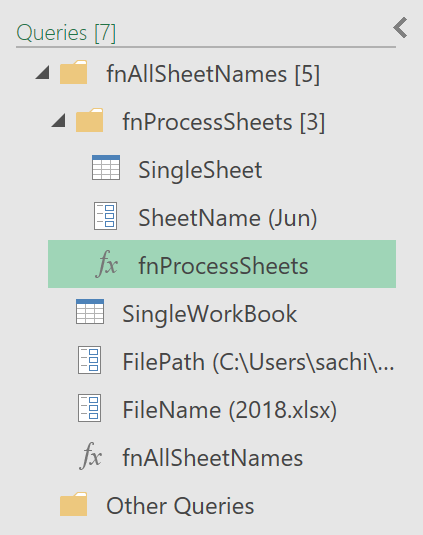
- Give the query the name fnAllSheetNames. This will generate a function, as shown below
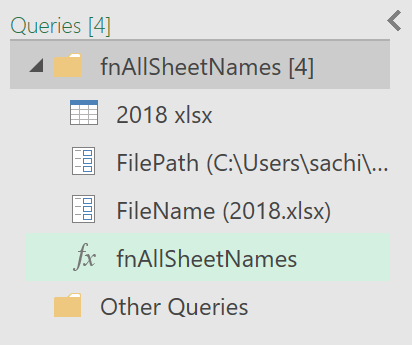
- Finally, rename the query called ‘2018.xlsx’ to ‘SingleWorkbook’
Function to transform the data in a single worksheet
The steps involved are:
- Use the same sample file as above. Create a duplicate of the same query.
- Extract the first worksheet from the workbook.
- Create a new parameter and call it SheetName.
- Edit the query and make it generic so it uses only parameters.
- The query should work with 3 parameters – file path, file name and sheet name.
- Turn the query into a function.
- Call the function fnProcessSheets.
This function processes all the valid sheets
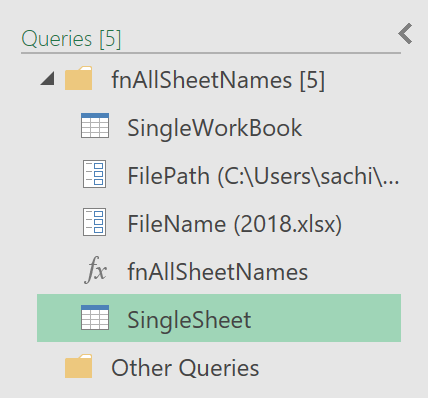
1. Create a ‘SingleSheet’ query
- Create a duplicate of the ‘SingleWorkBook’ query, and rename it to ‘SingleSheet’
- Remove the last 2 steps of the query so that you see the following data again

2. Create a sheet parameter
- Click on ‘Manage Parameters’ under the Home tab
- Create a third parameter called ‘SheetName’. Give it a current value of ‘Jun’
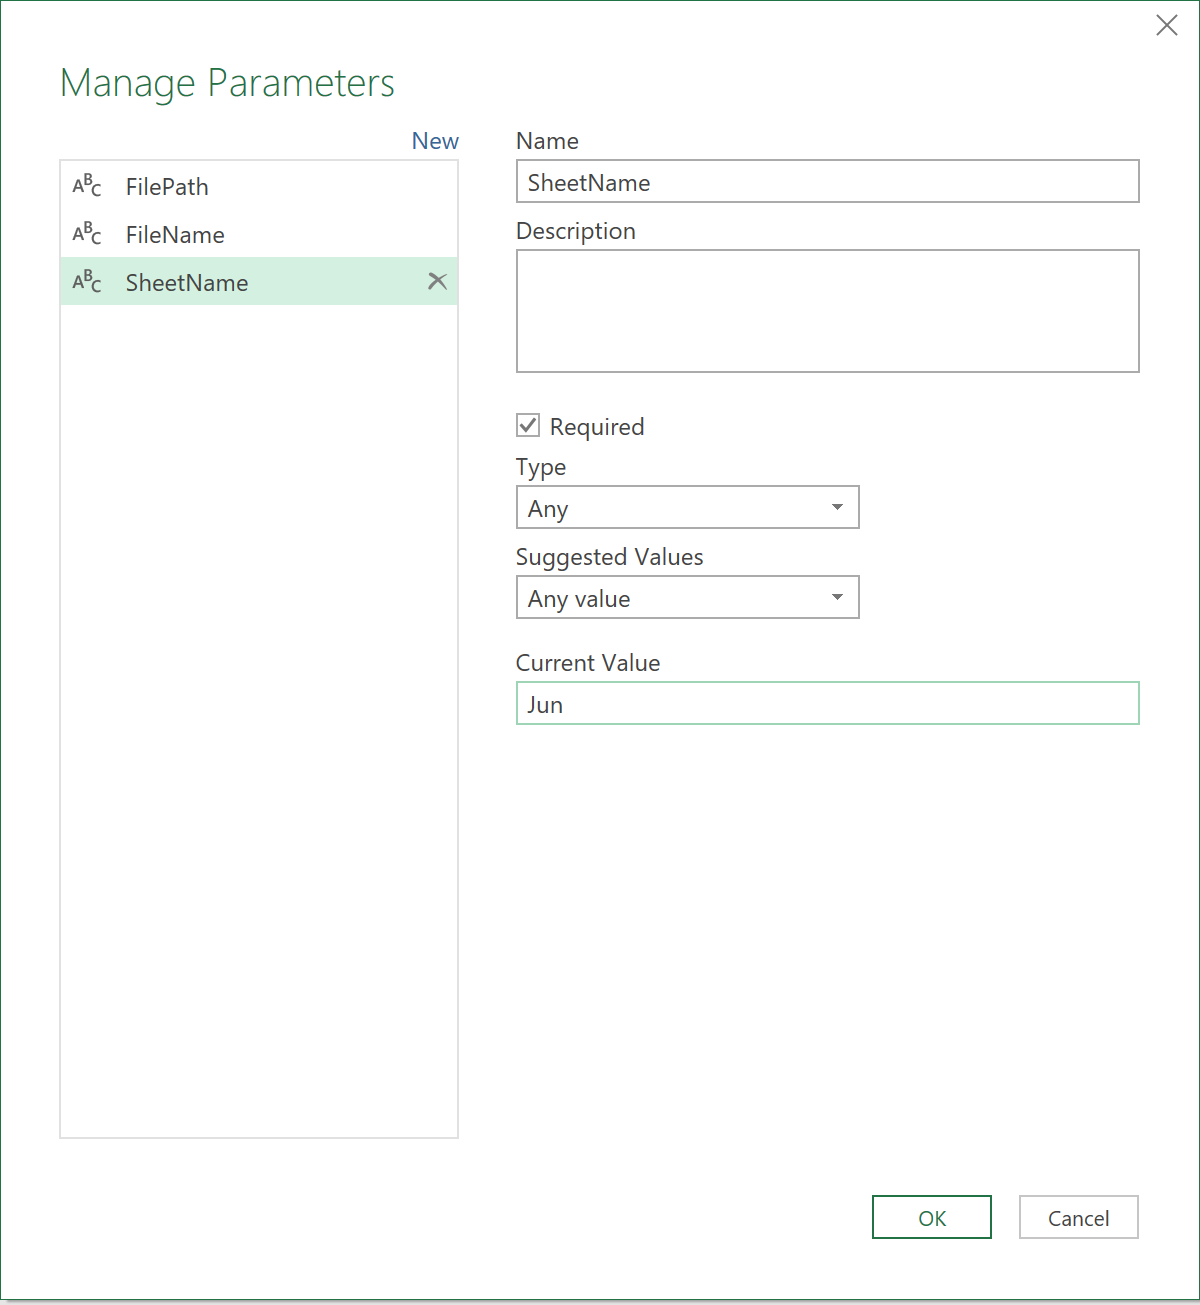
- Click ok
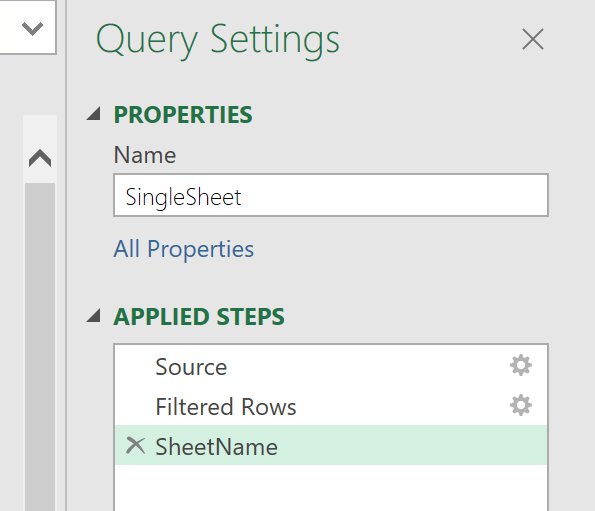
- Create a third step to the query, with the following M-code
= #"Filtered Rows"{[Item=SheetName,Kind="Sheet"]}[Data]
- Call the step SheetName
3. Apply sheet transformations
- Now, apply any sheet level transformation
- In this example, we just promote the first row to headers
4. Turn the query into a function
- Now, right-click on the query called ‘SingleSheet’ and choose the ‘Create Function’ option
- Give the query the name fnProcessSheets. This will generate a function, as shown below:
Extract the data using the two functions
Here, the steps involved are to:
- Get data from the relevant Folder.
- Select Transform Data to get the data into Power Query.
- You will have 2 columns – one with file names and the other with file path names.
- Remove all other columns.
- Add column using Invoke Custom Function.
- Use the function fnAllSheetNames and pass the 2 column names as the parameters.
This gives all the valid sheets from all the files in the folder.
Next, to extract data from all these worksheets:
- Add another column using Invoke Custom Function.
- Use the function fnProcessSheets and pass in the 3 parameters.
You should now have all the data from all the valid worksheets from all the workbooks in the folder!
1. Create a last query
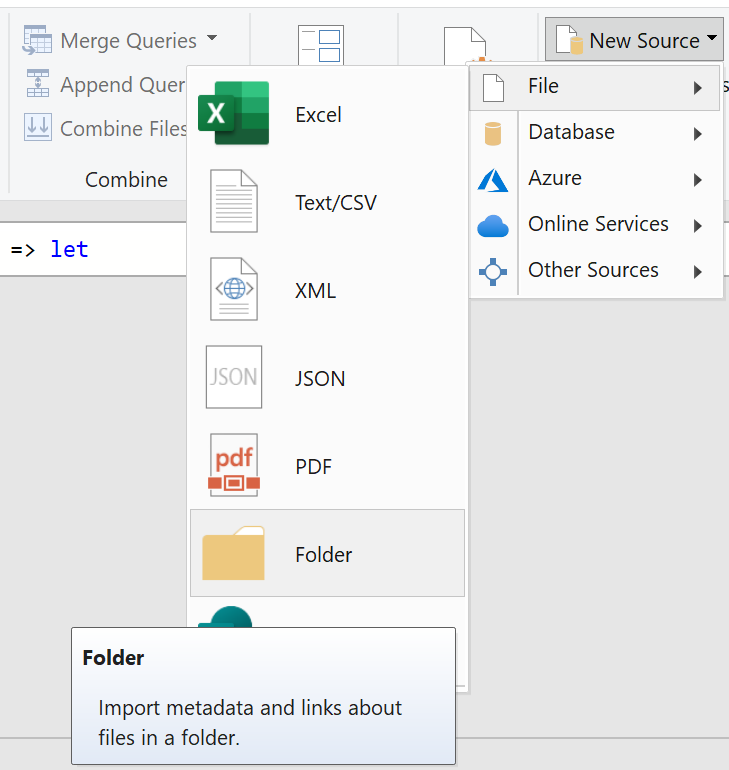
- Click on ‘New Source’ ➔ File ➔ Folder
- Select the Folder path to where the files are
- In the next window that appears, click the ‘Transform Data’ button
You should see something like this:

- Remove all columns, apart from the ‘Name’ and ‘Folder Path’ columns, as these are the only columns needed, as parameters for the function
- Finally, rename the query to ‘Orders’
2. Invoke the SheetName function
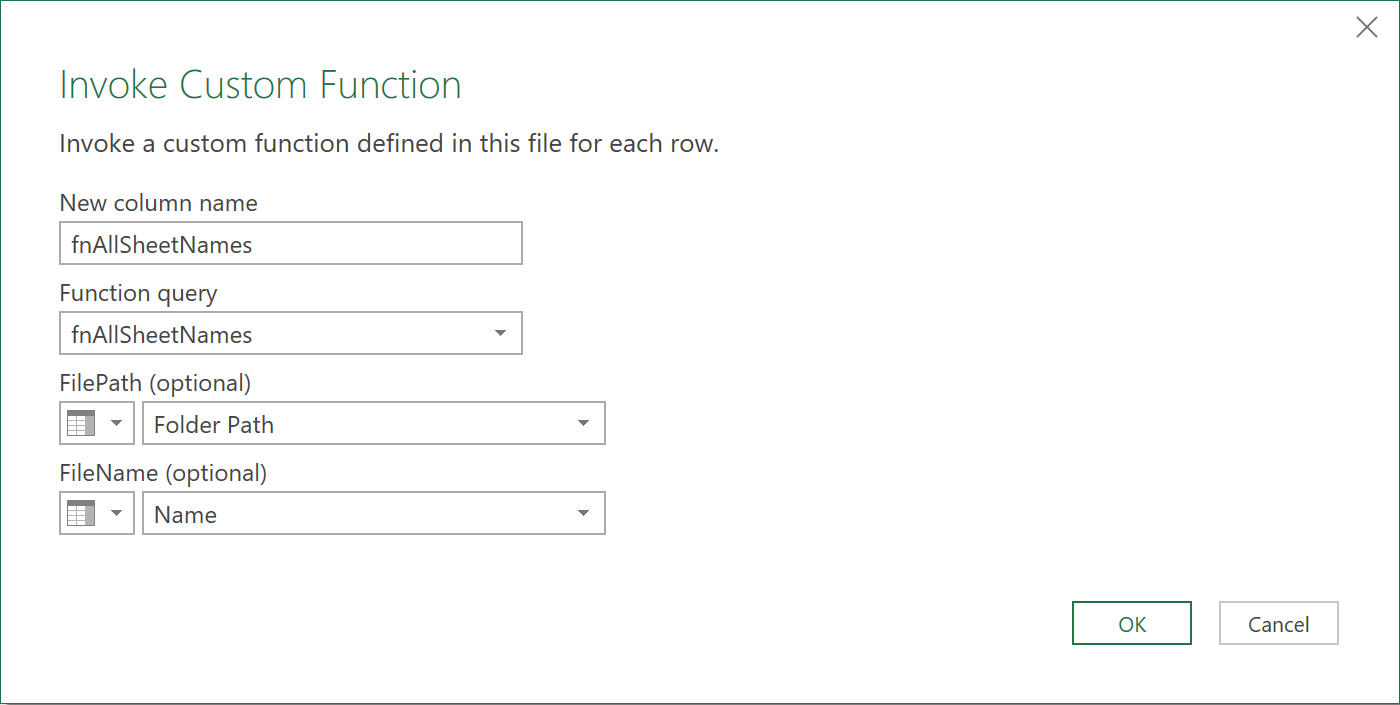
- Now, click on the ‘Invoke Custom Function’ icon under the ‘Add Column’ tab
- Apply the following settings, and click ok to call and invoke the function
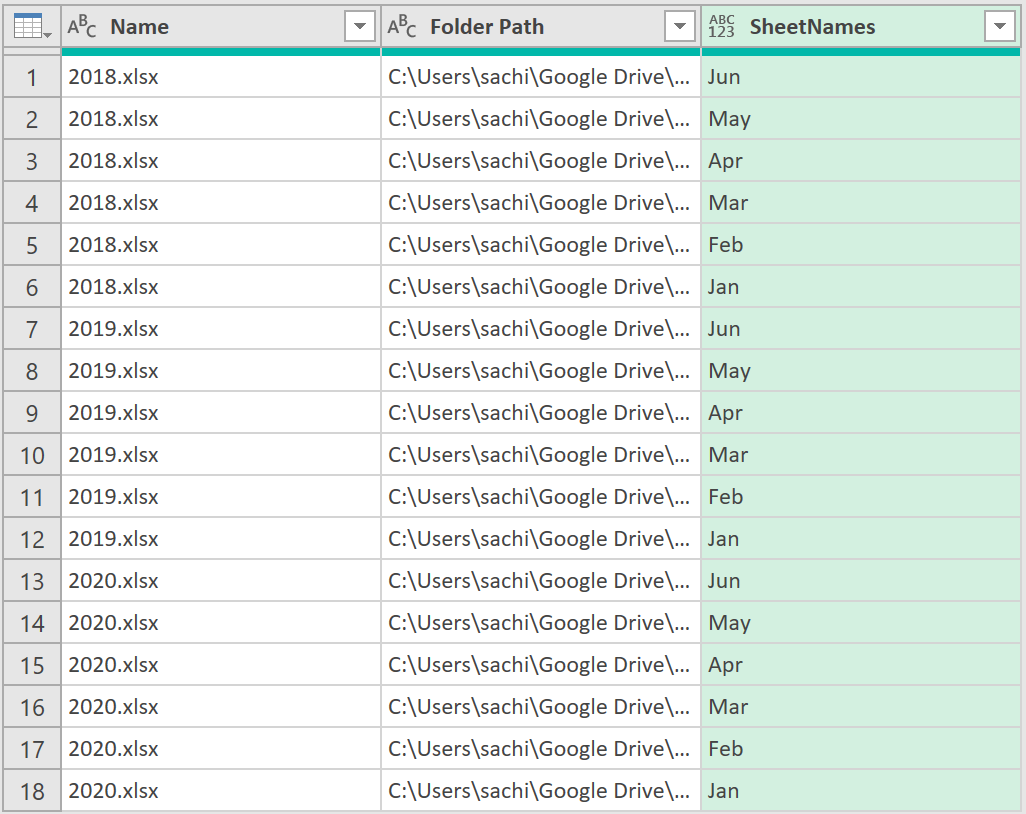
- Next, click on the expand button, to expand all sheet names across all the files

The query should now show all sheet names across all files, along with their file names, and folder paths, like shown below:
3. Invoke the ProcessSheet function
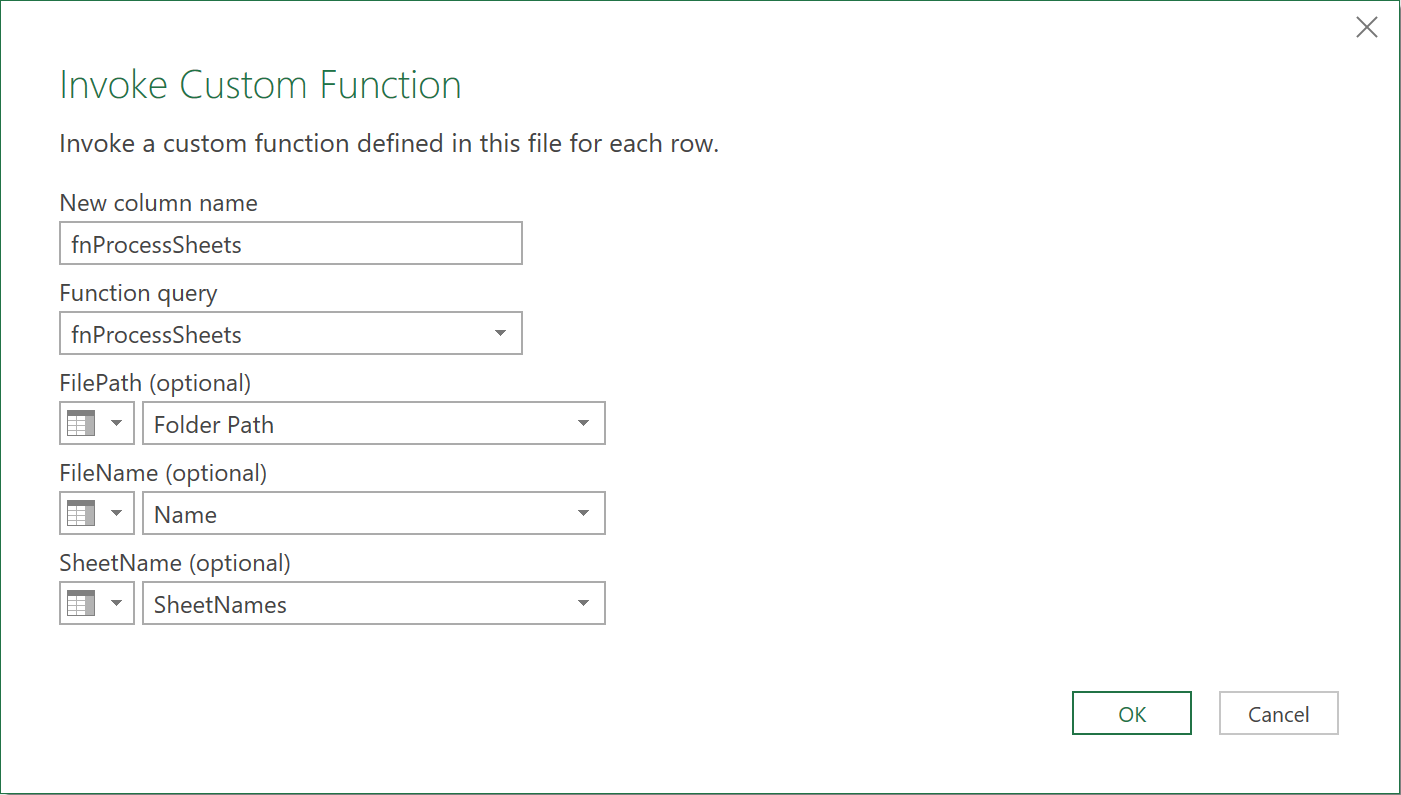
- Now, click on the ‘Invoke Custom Function’ icon again
- Apply the following settings, and click ok to call and invoke the function
Important: If you get an error at this step, modify the M-code to the fnProcessSheets function, so that it looks as follows:
let
Source = (FilePath, FileName, SheetName) => let
    Source = Excel.Workbook(File.Contents(FilePath & FileName), null, true),
    SheetName = Source{[Item=SheetName,Kind="Sheet"]}[Data],
    #"Promoted Headers" = Table.PromoteHeaders(SheetName, [PromoteAllScalars=true])
    in
        #"Promoted Headers"
in
    Source
- Expand the fields from the newly created column, as shown below:
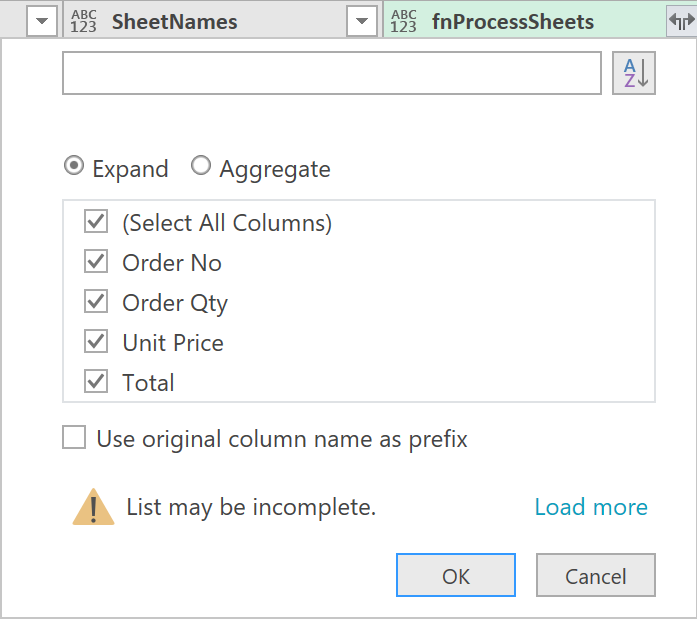
After removing the first three parameter columns, the data should look as follows, with all the data consolidated into one set – as we initially wanted!

4. Final M-Code
The final M-code to the query, for this particular example, should look like this:
let
    Source = Folder.Files(FilePath),
    #"Removed Other Columns" = Table.SelectColumns(Source,{"Name", "Folder Path"}),
    #"Invoked Custom Function" = Table.AddColumn(#"Removed Other Columns", "fnAllSheetNames", each fnAllSheetNames([Folder Path], [Name])),
    #"Expanded fnAllSheetNames" = Table.ExpandTableColumn(#"Invoked Custom Function", "fnAllSheetNames", {"SheetNames"}, {"SheetNames"}),
    #"Invoked Custom Function1" = Table.AddColumn(#"Expanded fnAllSheetNames", "fnProcessSheets", each fnProcessSheets([Folder Path], [Name], [SheetNames])),
    #"Expanded fnProcessSheets" = Table.ExpandTableColumn(#"Invoked Custom Function1", "fnProcessSheets", {"Order No", "Order Qty", "Unit Price", "Total"}, {"Order No", "Order Qty", "Unit Price", "Total"}),
    #"Removed Columns" = Table.RemoveColumns(#"Expanded fnProcessSheets",{"Name", "Folder Path", "SheetNames"})
in
    #"Removed Columns"
Feedback
Submit and view feedback