
Custom functions
Overview
In this article, we understand how to create very flexible queries, with Custom functions.
Why use custom functions?
Custom functions can be very useful when you have built a query with significant transformations against a single file, that then needs to be repeated on other files.
With functions, the same code can be called multiple times, and re-applied consistently to each new file - saving a lot of time, bother, and hassle.
Building a custom function
Three steps are involved with building a custom function:
- Build a single-use scenario first.
- Convert the single-use scenario into a function.
- Call the function from another query.
Here, we will extend on the scenario, using ‘M’ to dynamically filter the correct rows, when importing a file called ‘Varying Header Rows.txt’.
The code needed to perform the import has already been created (from another article). Now, the same logic needs to be applied to a different file.
Steps
1. Buiild a single-use scenario
The single-use scenario has already been built and can be found here:
Single-Use-Scenario - filtered list
(Now, however, there are other files, with the same structure, in the same folder, that we also wish to apply the same transformations to, and consolidate into one file).
2. Convert the query into a function
Converting a Query into a function involves three steps:
- Choose a name for the variable that will hold the data you wish to replace.
- Edit the query and place the following text at the beginning:
(variable_name) =>
- Scan the query for the data you wish to replace and overwrite it with the variable name.
The variable name should be descriptive of the data it will hold, as this will help self-document the code (ensure it doesn’t contain any spaces or special characters).
With the variable name chosen, edit the query to turn it into a function:
- Edit the Varying Header Rows Query ➔ Home ➔ Advanced Editor
- Place your cursor right in front of the let statement
- Type the following:
(filepath)=>
- Press Enter
The code should now start like this:
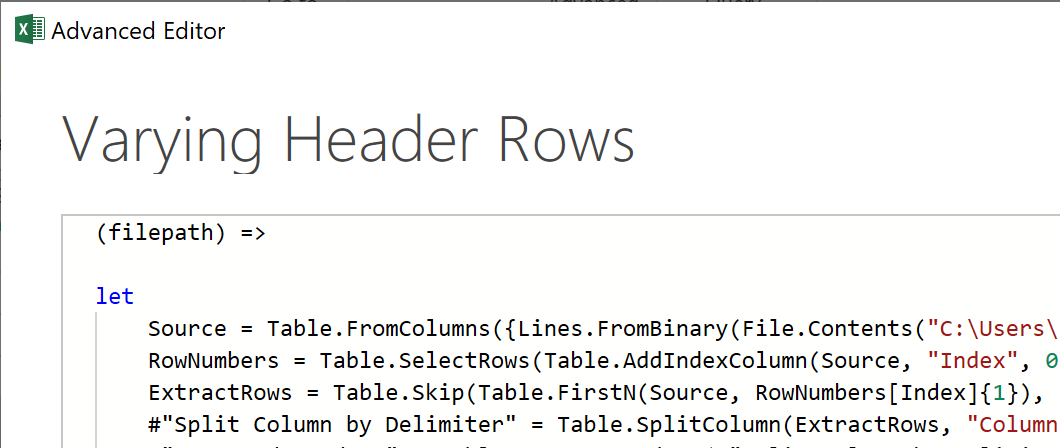
The next step is to scan the code, find the existing file path, and replace it (and any quotes that surround it) with the variable name:
- Locate the full file path in the line that starts with Source
- Select the file path, being careful to exclude the quotes on both ends
- Press Ctrl+C to copy the file path (for later use)
- Press the Delete key to clear it and remove the quotes on both ends of your selection
- Enter filepath as the variable name
The code should now look like this:
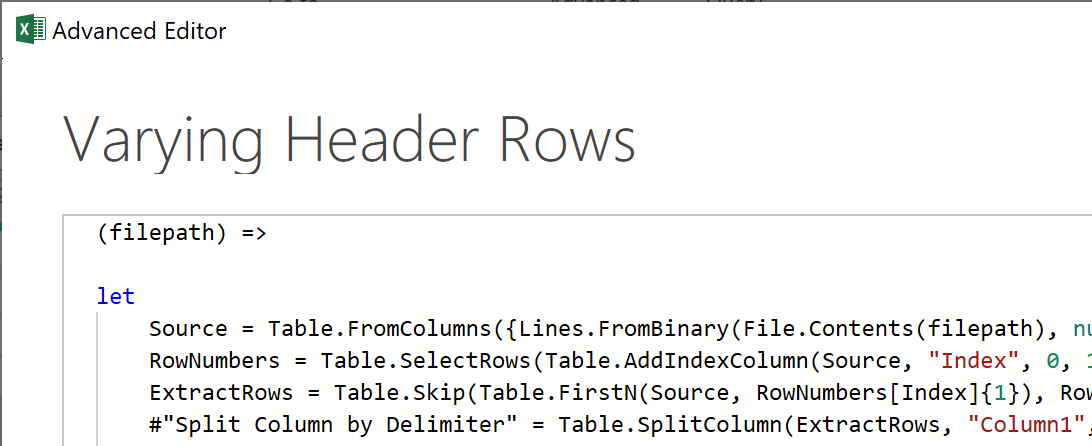
Click OK, and the Query will turn into a function, like so:
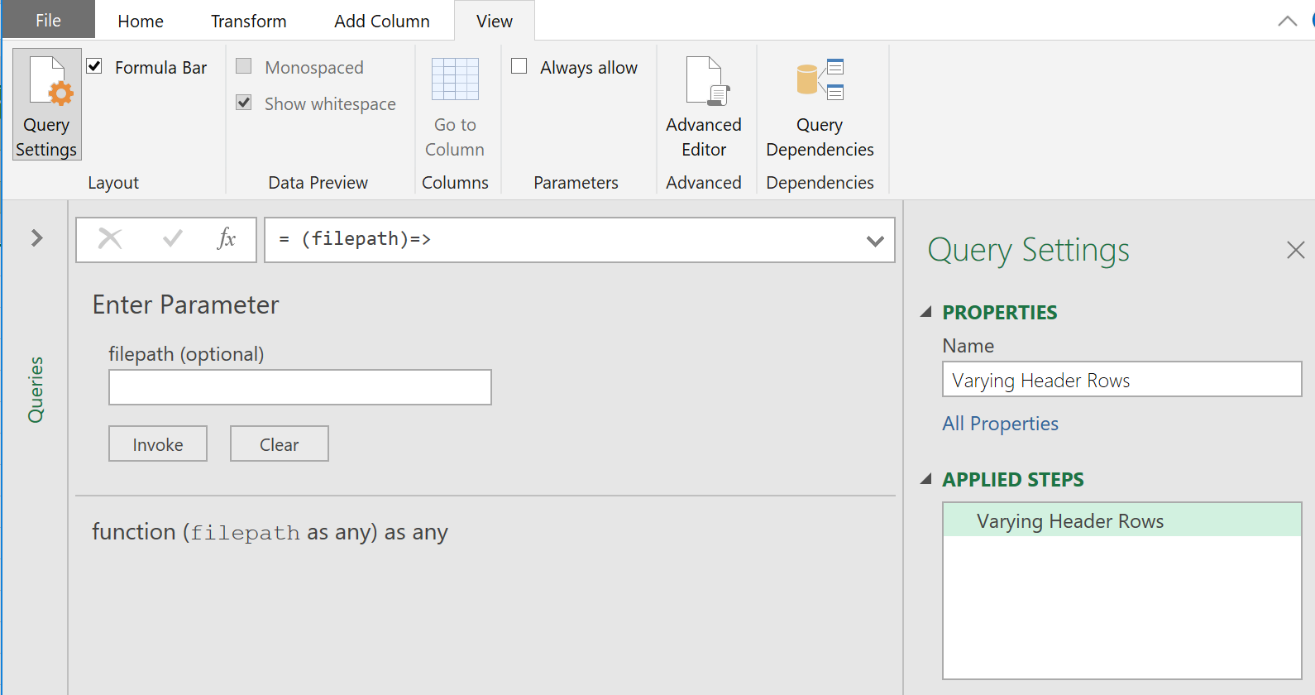
3. Test the function
Test that everything still works ok:
- Click the Invoke button
- Paste the full file path (as it is on your machine): = “C:\Users.….\Varying Header Files\Varying Header Rows.txt”
When you click OK, the query loads the information from the file and runs it through all the steps, loading the results in a new query called ‘Invoked Function’
With the function working:
- Rename the query called ‘Varying Header Rows’ to fnGetVaryingRows
- Go to Home ➔ Close & Load
When you click ‘Close & Load’, because the query has been changed from a query to a function, it will show as a ‘Connection Only’ format, and nothing will load into the spreadsheet:

4. Call the function
Now call this function on other files – so that the other ‘Varying Header Row’ files located in the same folder can be consolidated together.
To do this:
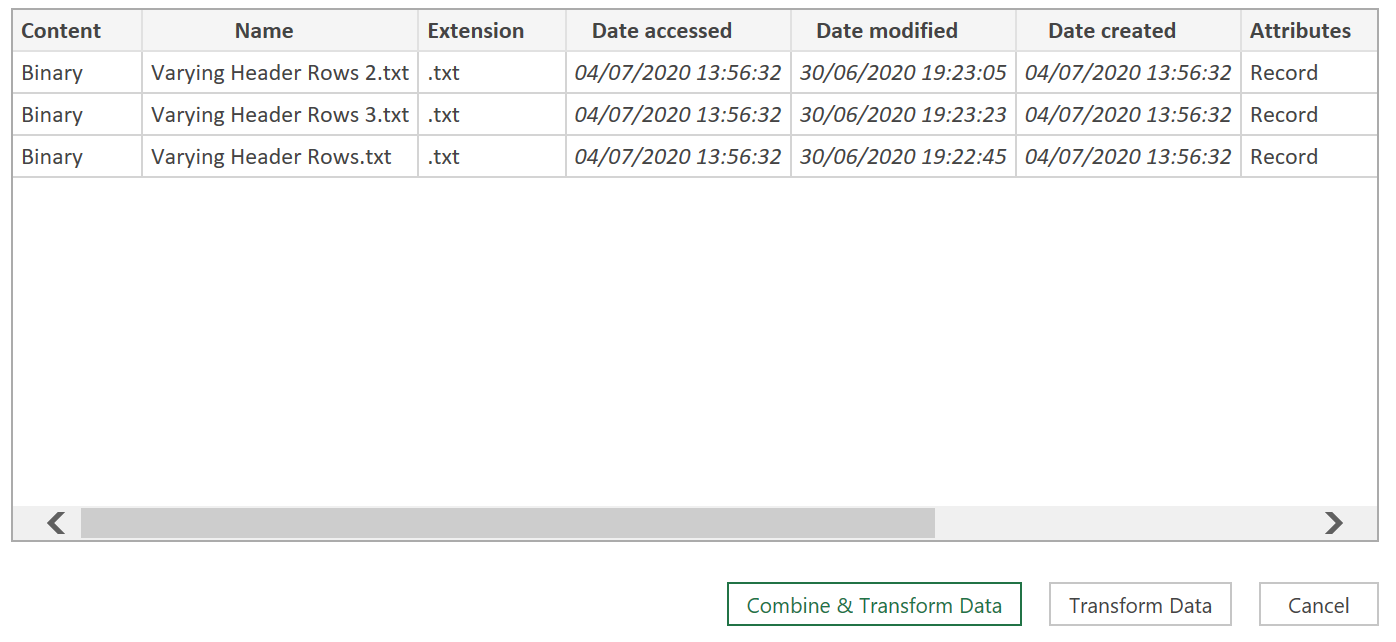
- Create a new query ➔ From File ➔ From Folder
- Navigate to the Source Files folder (where all the other ‘Varying Header Row’ files are located) ➔ OK
- Click the ‘Transform Data’ button in the window that next appears
- Select the Folder Path and Name columns ➔ Right-click ➔ Remove Other Columns
Now,
- Go to the Add Column tab ➔ click Custom Column
- Enter the following formula in the Add Custom Column dialog:
=fnGetVaryingRows([Folder Path]&[Name])
- Click OK
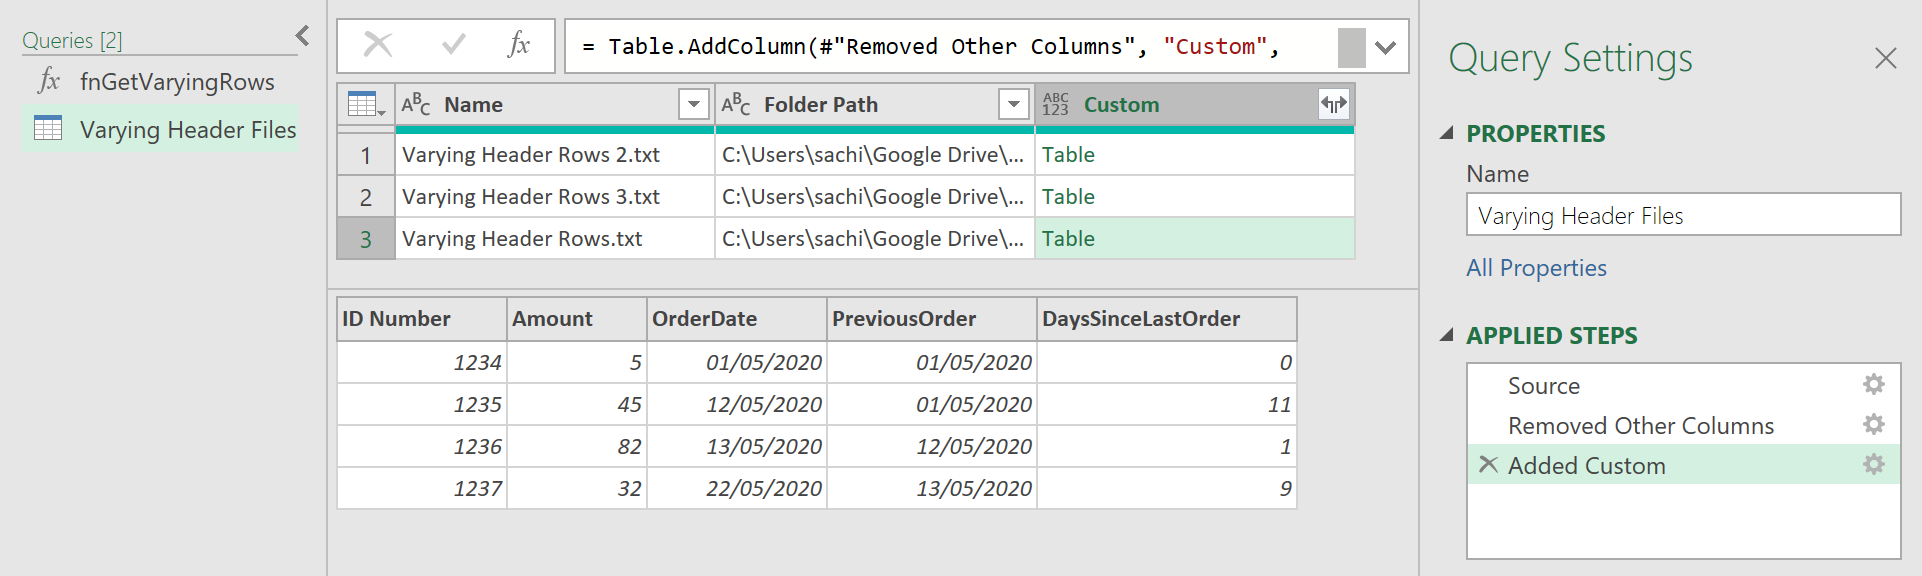
You should now be returned with this, with a Table object loaded to each row. If you click on any Table object you should be able to see a preview of that object, like shown below:
You can now remove the Folder Path and Name columns, and then import and consolidate the files together
- Remove the Folder Path and Name columns
- Click the Expand arrow on the ‘Custom’ column ➔ Uncheck the prefix option ➔ OK
Set the data types of each field as follows:
- ID Number: Whole Number
- Amount: Whole Number
- Order Date: Date
- Previous Order Date: Date
- DaysSinceLastOrder: Whole Number
With that done, load the query, and you should be finished!
- Go to the Home tab ➔ click ‘Close & Load’
5. A final word
Custom functions provide a huge benefit that was previously not possible to do in an easy-to-deploy fashion. Here, by building a single-use case, and perfecting the transformation on a smaller scale, the query can easily be extended to other files, so that all results can be appended and shown together. Very handy indeed!
Feedback
Submit and view feedback