
Creating a 554 Calendar
Overview
Many companies do not use a standard calendar but instead use a 445 calendar (or variants of this). This is especially the case in the Retail Industry.
Differences in such Calendars can include:
- What month you start the financial year in.
- What day of the week you start the week in.
- 365 divided by 7 = 52 + 1 day remainder - different companies handle the extra day in different ways.
Here is one example.
The rules of this particular calendar are that:
- The first day of the financial year is the Monday closest to 1 January.
- The number of weeks each month are in the pattern 544 (5 for January, 4 for February, 4 for March) and then repeats.
- The calendar weeks, months and years mirror the financial data.
Steps
In this article, we explain how to create such a calendar table.
Important: Due to the build-up of extra days over leap years, the method can produce invalid results for Calendar Tables that are more than 4 years long in duration. For example, Calendar tables, longer than this, can sometimes result in 53 weeks in the 5th year, invalidating the 544 model (which assumes a 52 week year). The Calendar Table in such a case should be re-built (every 4 years). Later in this article we explain how to do this, with a function.
In this article, we work towards building a Scenario case, of Calendar Table that is 3 years (or 1096 days) long in duration.
1. Create a List of Dates
- Add a list of dates making sure that the date added is the first day of the financial year.
= List.Dates(#date(2019,12,30), 1096, #duration(1,0,0,0))
- Convert it to a Table, and rename the column to ‘Dates’
- Then add an ID column, with the index starting from 1.

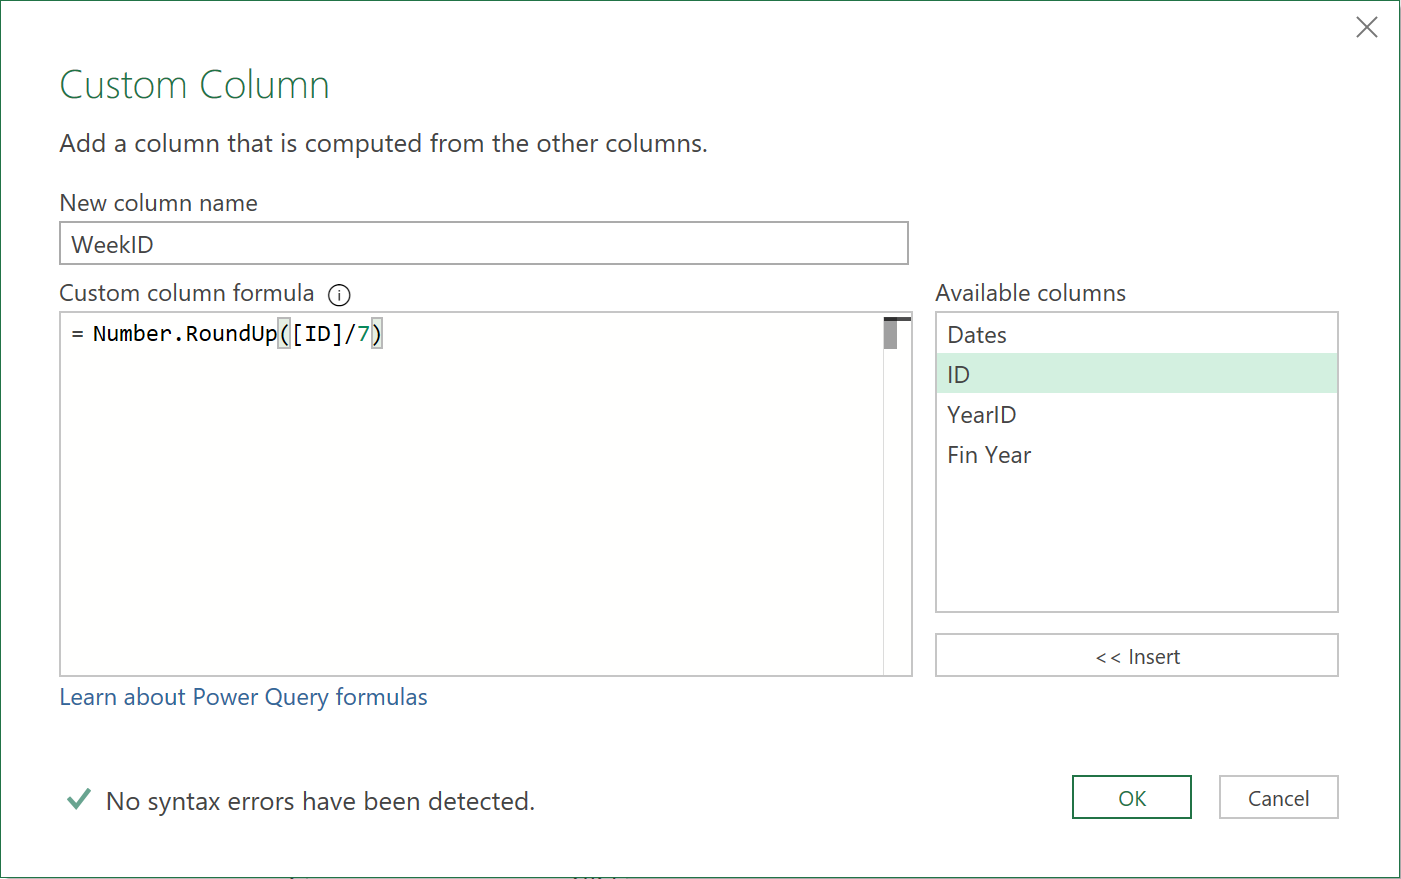
2. Create a Week ID column
The next step needs an understanding of the 544 pattern. The 544 pattern follows a 13-week cycle, so each week needs a unique ID to map the weeks into the correct months.
- Using the RoundUp function used above: divide the original ID number by 7 and round up. This will give a unique number for each week across the entire calendar
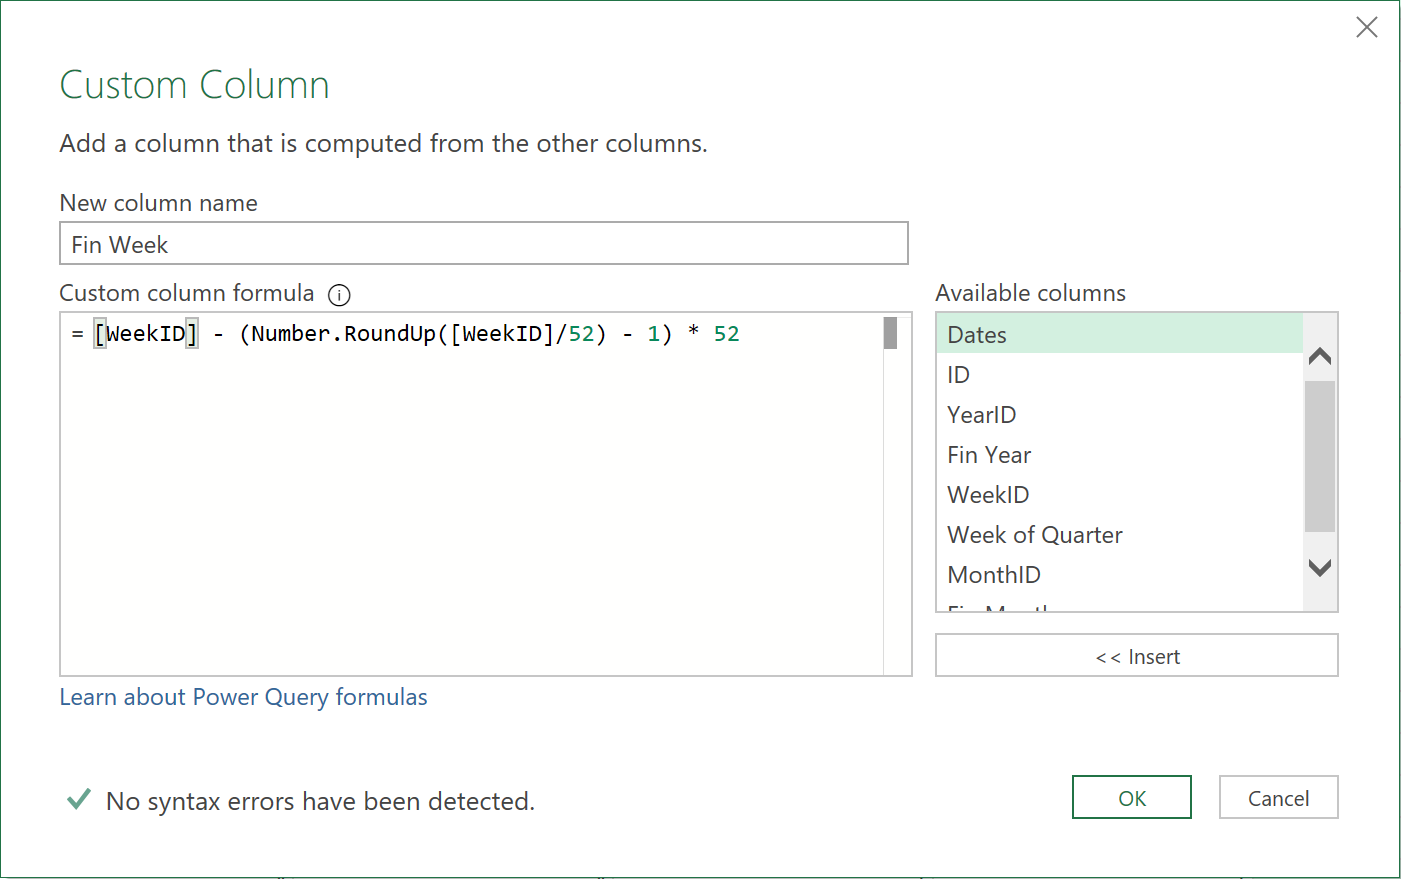
3. Create a Financial Week column
- Create a Fin Week column using the following formula.
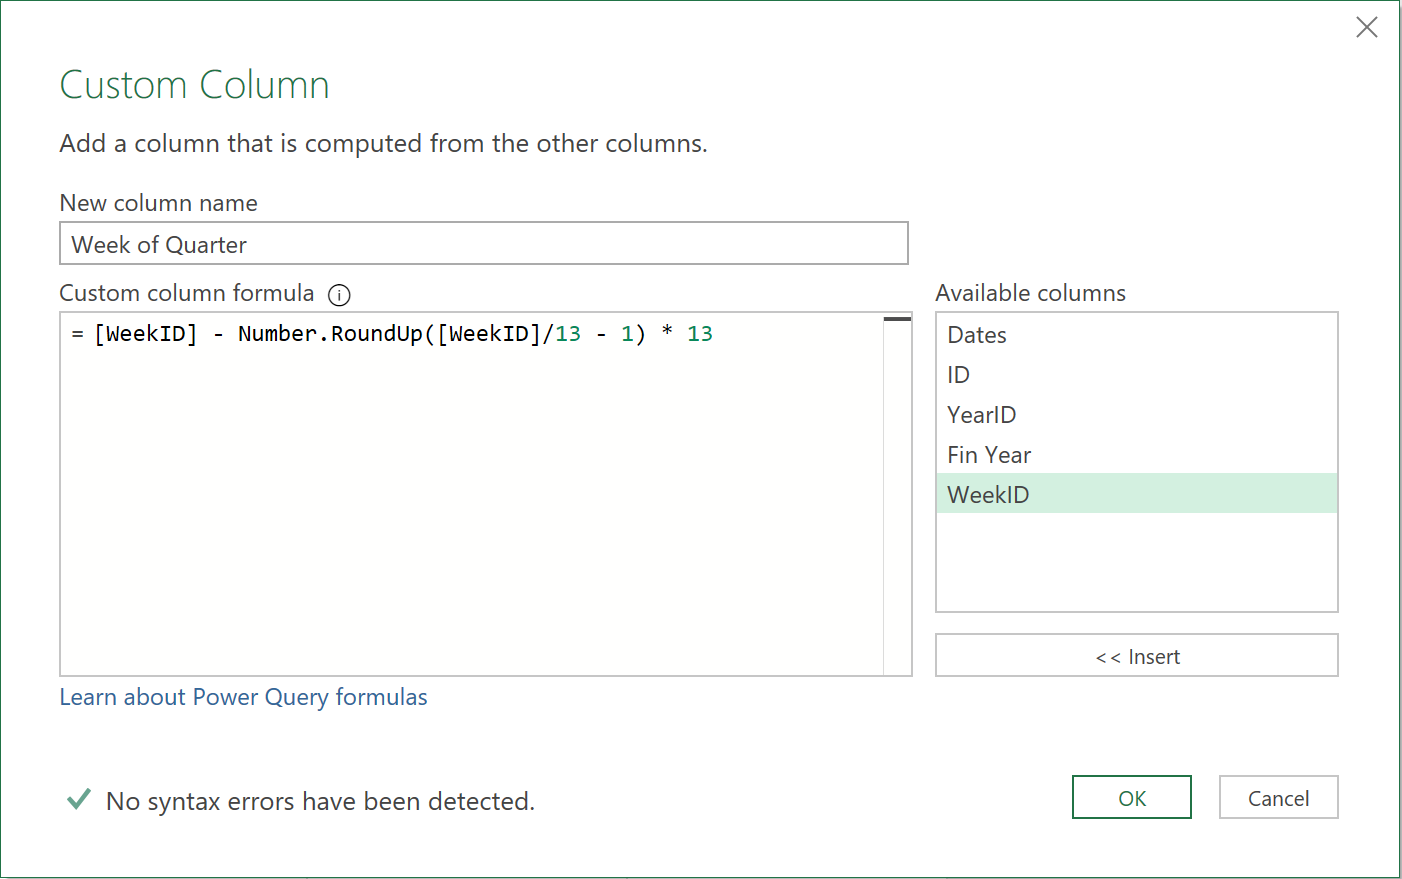
4. Create a Week of Quarter column
- Create a Week of Quarter column. This one repeats from 1 to 13 and then starts again.
This formula is a little different in that counts 1 through 13 and then restarts at 1 again. In the first 13-week period it subtracts 0 x 13 from the WeekID (leaving the numbers 1 through 13 for the week numbers. In the second batch of 13 weeks it subtracts 1 x 13 = 13 from the WeekID numbers, so instead of 14 through 26, it returns 14 subtract 13 through 26 subtract 13, which is 1 through 13 again. The pattern then repeats.
5. Create a Year ID column
- Insert a Year ID column (1 for the first year, 2 for the second year etc.). To do this, divide the WeekID column by 52 and round up, so that every 52 weeks gets its own year number.
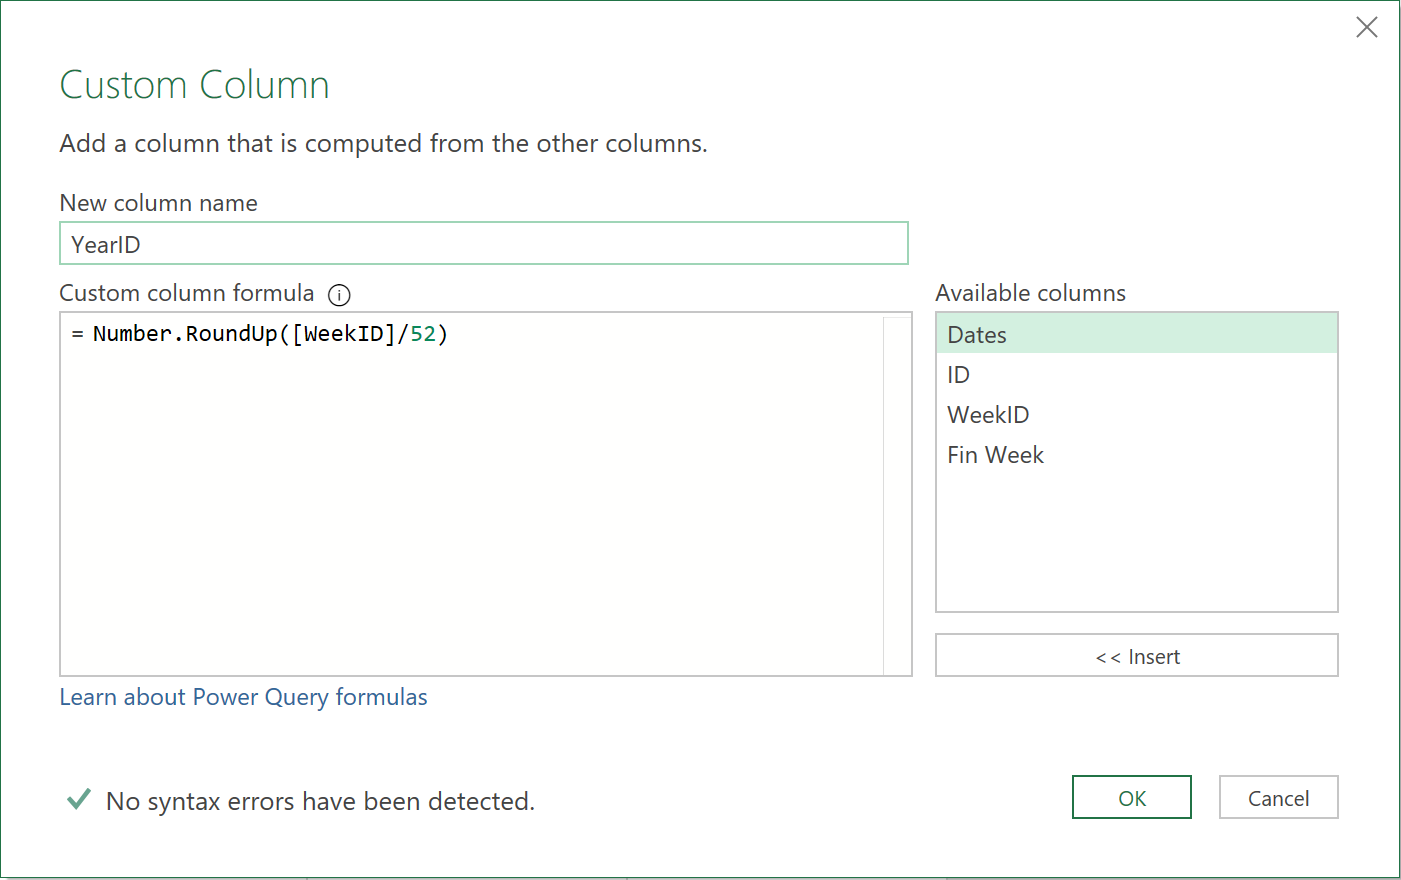
The 53rd week becomes the “second year” – which should also start on a Monday.
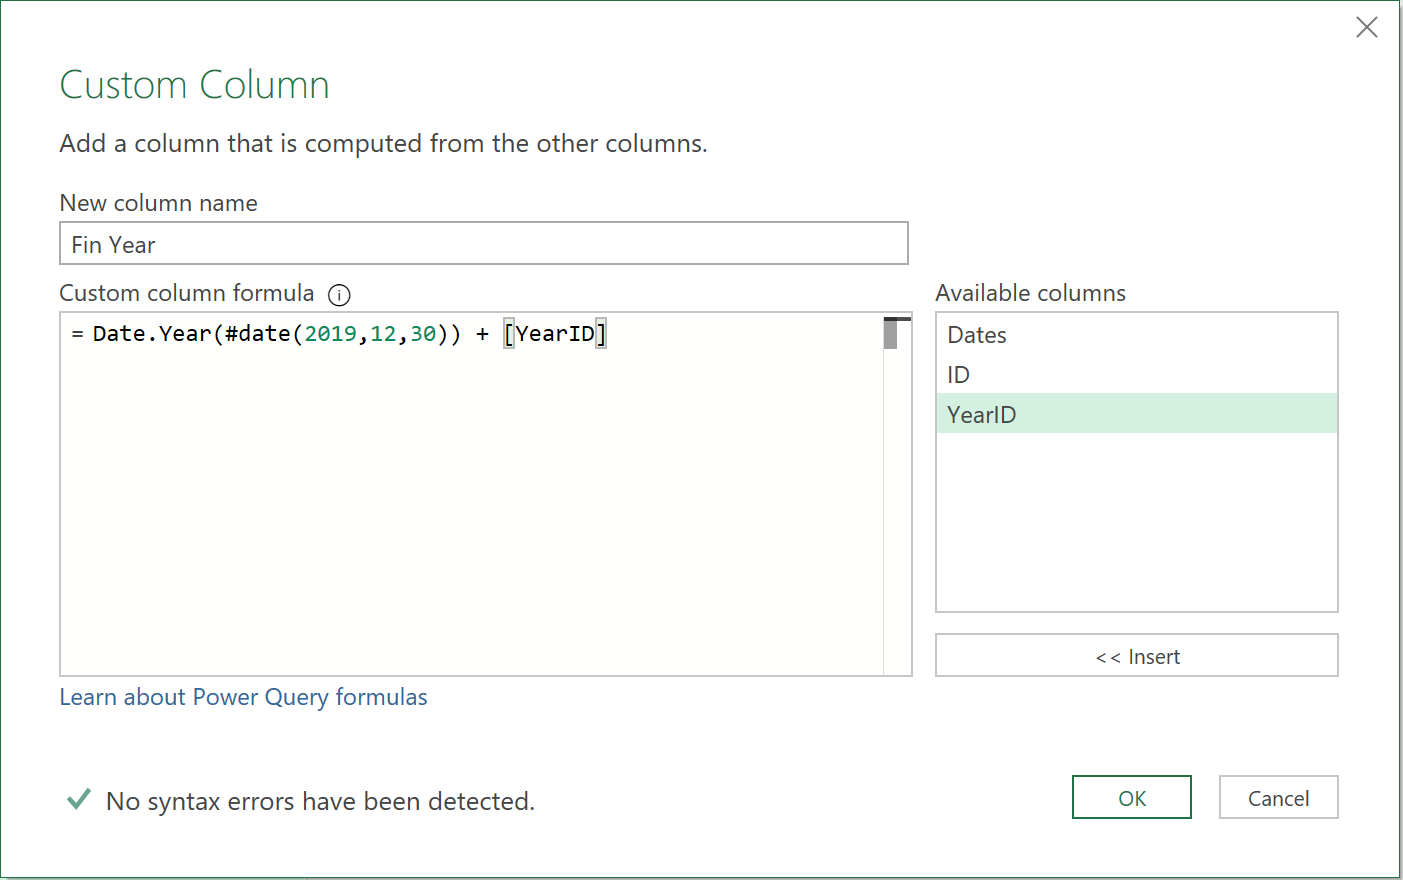
6. Create a Financial Year column
With a year reference included, you can now create the Fin Year column.
- Use the starting date as shown above, (2019 in this case), convert it to a Year, and then add the YearID. The first calendar year starts at 2020, so the year of the starting date plus the value of the YearID equals to the Financial Year.
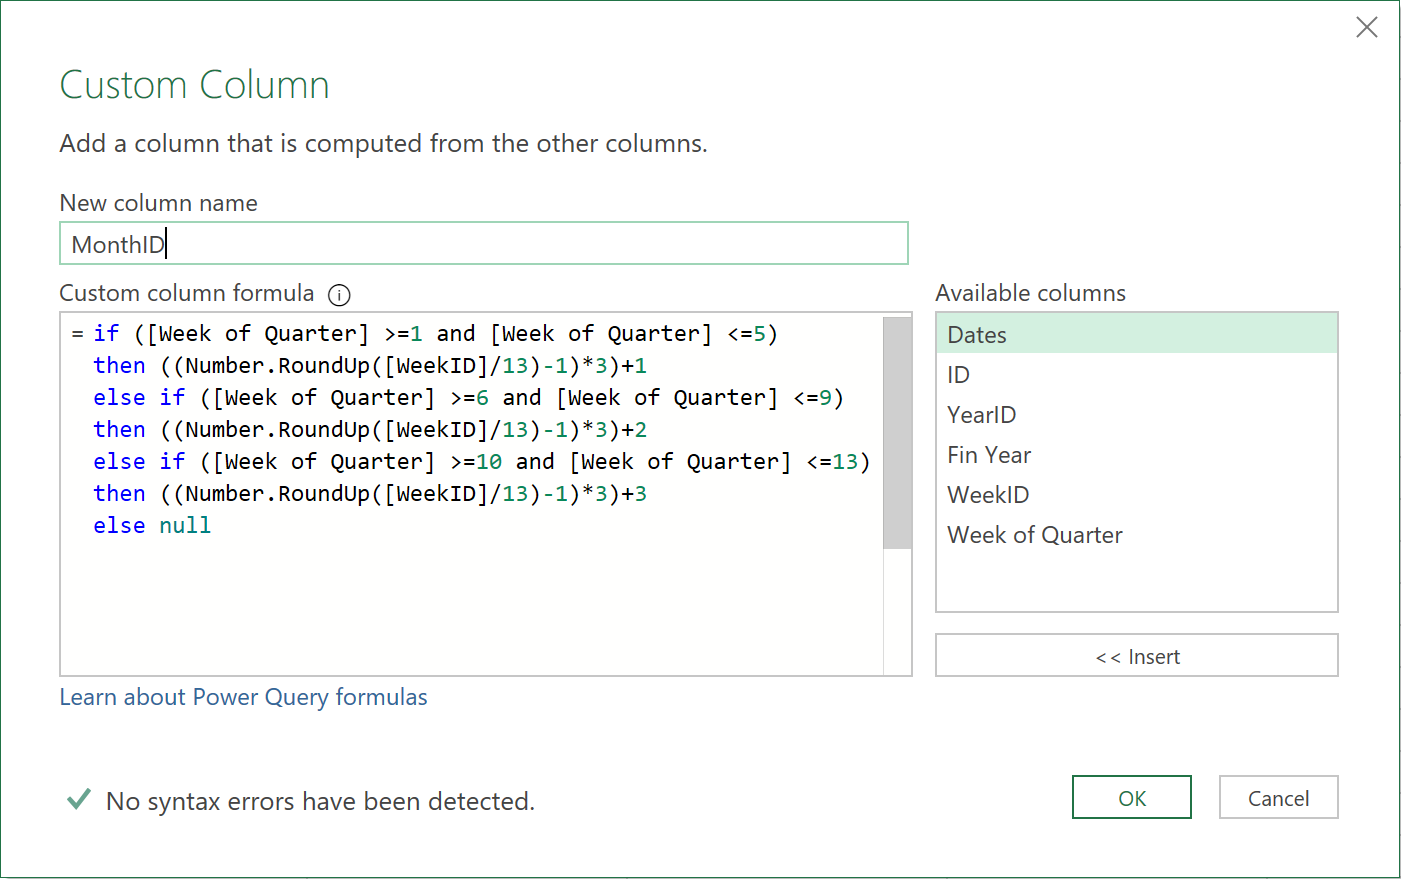
7. Create a Month ID column
Refer to the Week of Quarter Column above. This column has numbers from 1 through 13, then starts again for the second quarter and so on. Using this column, you know that weeks: 1, 2, 3, 4, 5 are in the first month, 6, 7, 8, 9, are in the second month, and 10, 11, 12, 13 are in the third month – the same applies for every quarter.
So, add a column and put an IF statement that basically looks at weeks 1, 2, 3, 4, 5 in the quarter only – and then one that looks at weeks 6, 7, 8, 9, and then another that looks at weeks 10, 11, 12, 13. Then add a 1, 2, or 3, accordingly, to the (WeekID divided by 13) less 1, times 3.
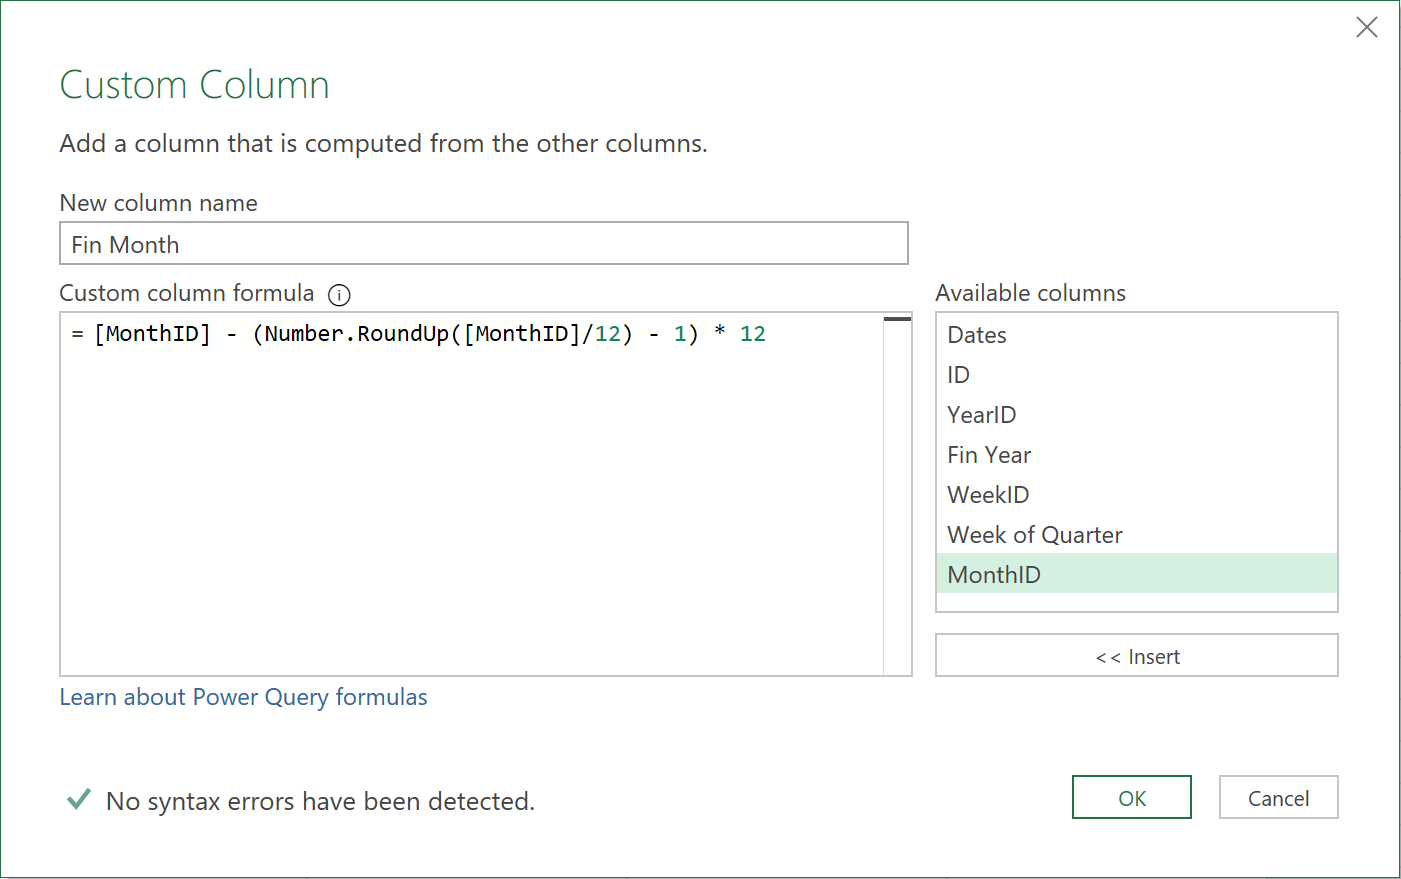
8. Create a Financial Month column
With the MonthID in place, create a Fin Month column. This is very similar to creating the Week of Quarter column, just using different values.
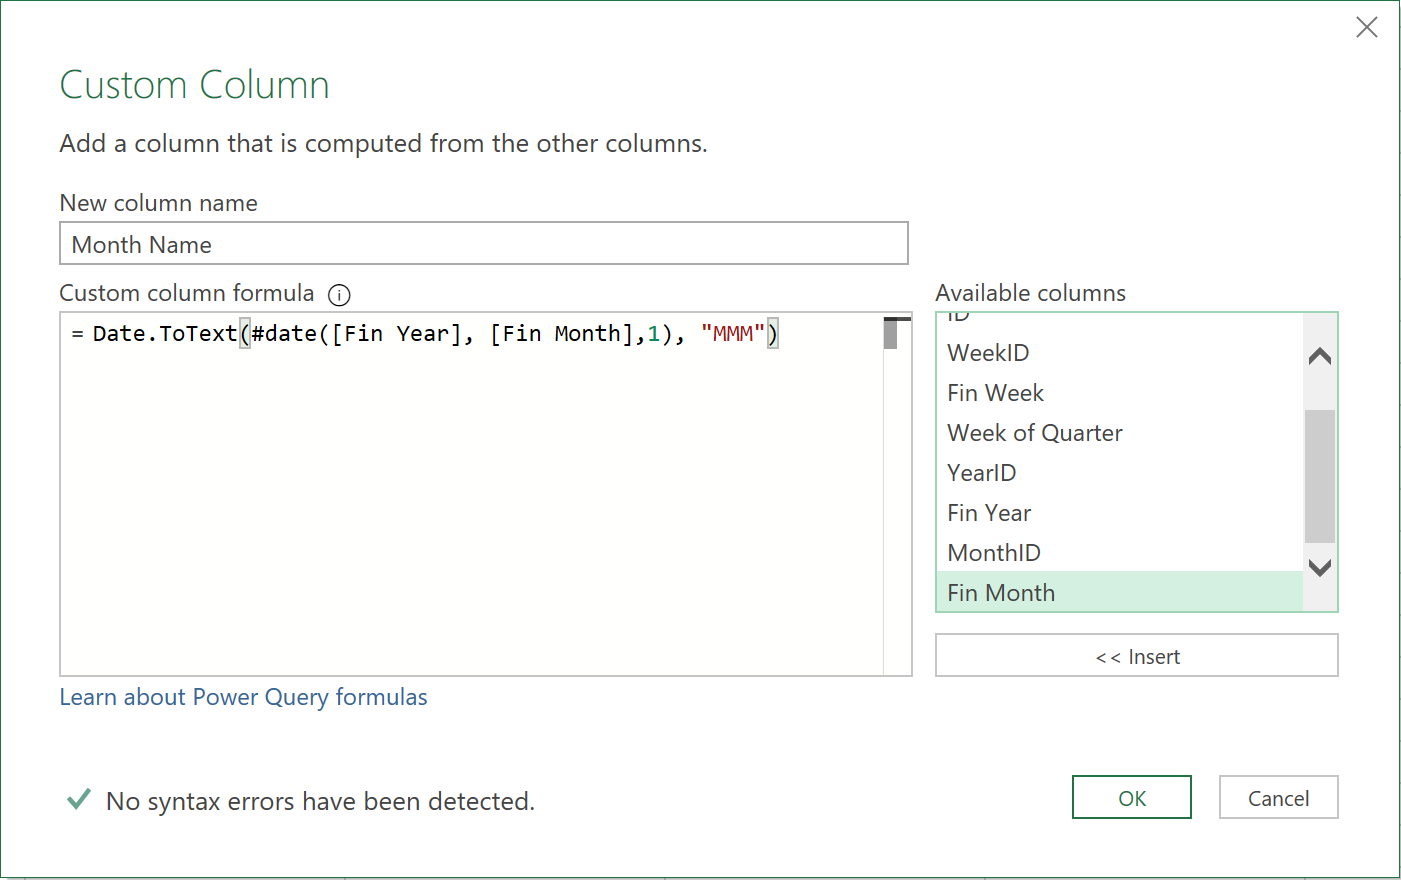
9. Create a Month Name column
Once you have the month number (which is the same as the calendar number in this case), you can create the month names. Here, the year and day don’t matter as you only need to extract the month name.
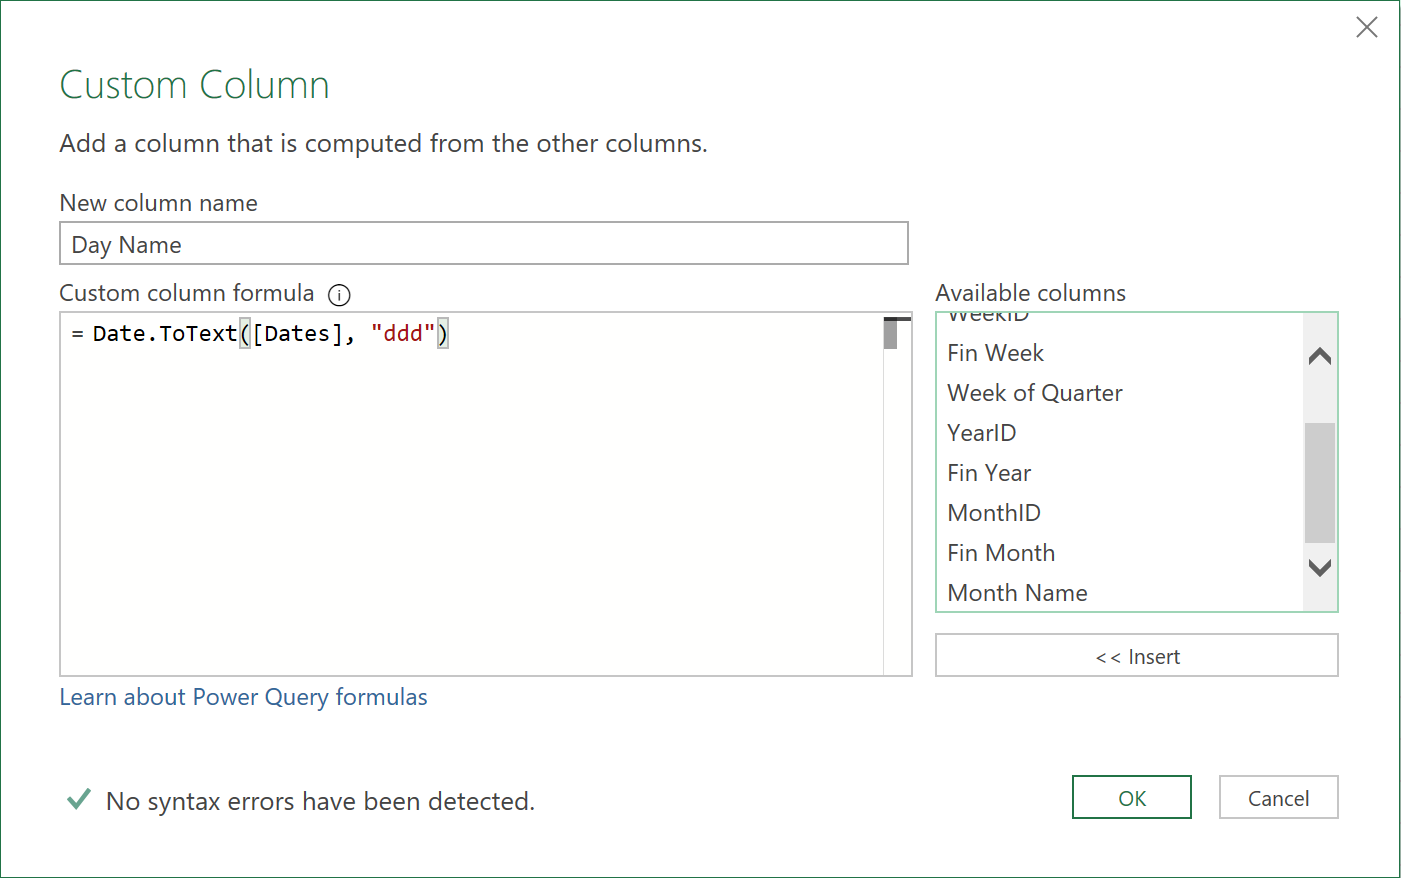
10. Create a Month Name column
Lastly, add a Day Name column
11. Turn the Query into a function
To do this,
- Take a copy of the query (by right clicking on it in the left-hand-side query pane, and selecting ‘Duplicate)
- Turn this new copy into a function, by modifying the code as follows:
let myCalendar = (YearStartDate as date) =>
    let
        Source = List.Dates(YearStartDate, 1096, #duration(1,0,0,0) ),
        #"Converted to Table" = Table.FromList(Source, Splitter.SplitByNothing(), null, null, ExtraValues.Error),
        #"Renamed Columns" = Table.RenameColumns(#"Converted to Table",{{"Column1", "Dates"}}),
        #"Added Index" = Table.AddIndexColumn(#"Renamed Columns", "ID", 1, 1, Int64.Type),
        #"Added Custom" = Table.AddColumn(#"Added Index", "WeekID", each Number.RoundUp([ID]/7)),
        #"Added Custom1" = Table.AddColumn(#"Added Custom", "Fin Week", each [WeekID] - (Number.RoundUp([WeekID]/52) - 1) * 52),
        #"Added Custom2" = Table.AddColumn(#"Added Custom1", "Week of Quarter", each [WeekID] - (Number.RoundUp([WeekID]/13) - 1) * 13),
        #"Added Custom3" = Table.AddColumn(#"Added Custom2", "YearID", each Number.RoundUp([WeekID]/52)),
        #"Added Custom4" = Table.AddColumn(#"Added Custom3", "Fin Year", each Date.Year(#date(2019,12,30)) + [YearID]),
        #"Added Custom5" = Table.AddColumn(#"Added Custom4", "MonthID", each if ([Week of Quarter] >=1 and [Week of Quarter] <=5)
            then ((Number.RoundUp([WeekID]/13)-1)*3)+1
            else if ([Week of Quarter] >=6 and [Week of Quarter] <=9)
            then ((Number.RoundUp([WeekID]/13)-1)*3)+2
            else if ([Week of Quarter] >=10 and [Week of Quarter] <=13)
            then ((Number.RoundUp([WeekID]/13)-1)*3)+3
            else null),
        #"Added Custom6" = Table.AddColumn(#"Added Custom5", "Fin Month", each [MonthID] - (Number.RoundUp([MonthID]/12) - 1) * 12),
        #"Added Custom7" = Table.AddColumn(#"Added Custom6", "Month Name", each Date.ToText(#date([Fin Year], [Fin Month],1), "MMM")),
        #"Added Custom8" = Table.AddColumn(#"Added Custom7", "Day Name", each Date.ToText([Dates], "ddd"))
    in
        #"Added Custom8"
in
    myCalendar
After you save the function, you get the Invoke Function screen:
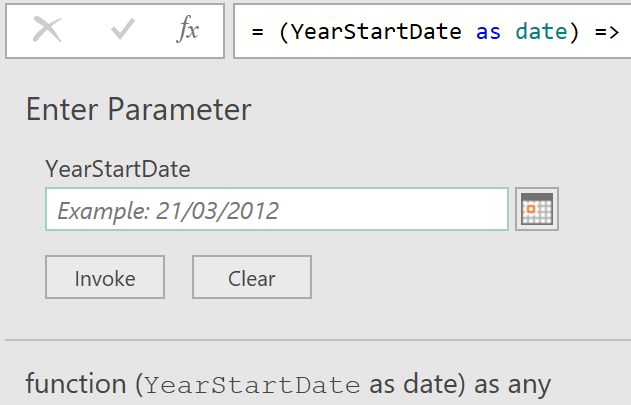
Press the Invoke button and you get prompted for a date.
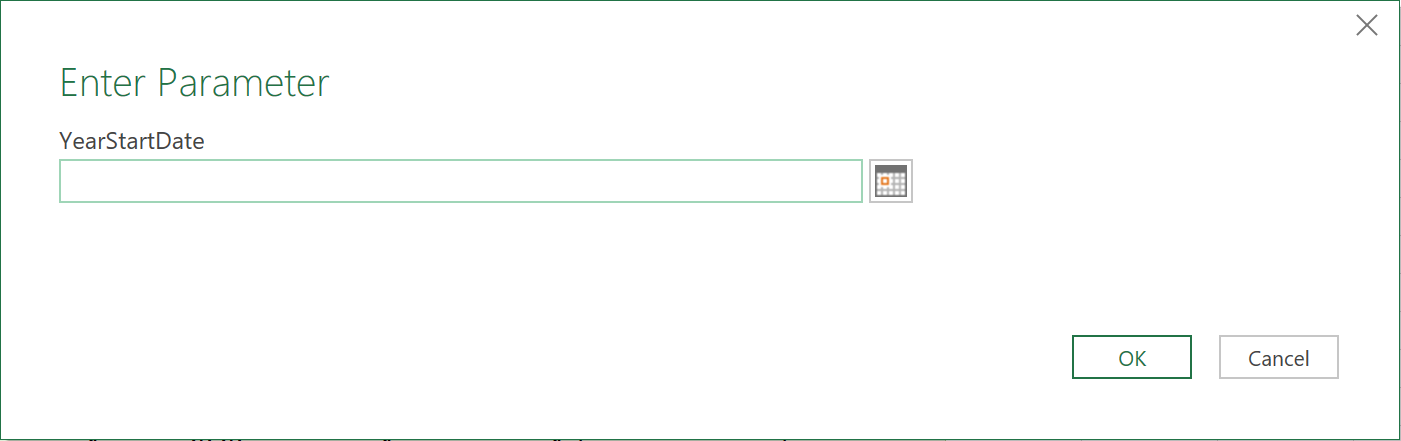
Choose for example, the date, 02/01/2023 (the closest Monday to the 1st of January 2023). Press OK, and the Calendar Table will automatically be generated for the next 1096 days!
12. Make a Weekly Calendar
For every Calendar Table generated, a weekly calendar can also be created
To do this:
- Create a reference to the Calendar Table, like so:
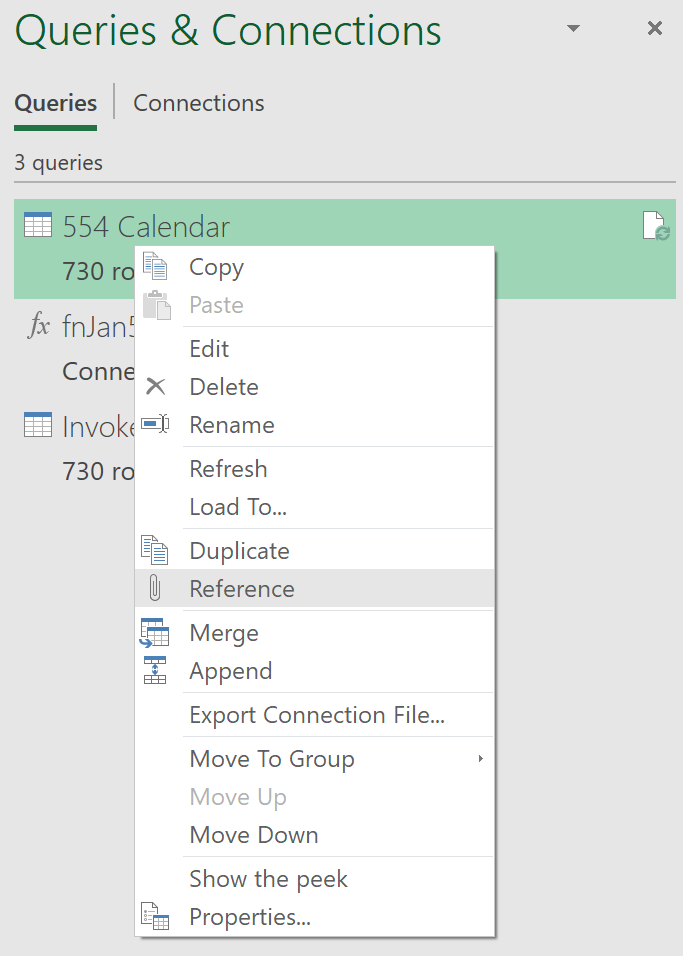
- Edit this new query to filter out all dates except Sundays (the last day of the week).

Finally,
- Remove the ‘Day Name’ column, as it is no longer needed
- Rename the ‘Dates’ Column to be called ‘Week Ending’
- Remove the ‘ID’ column (it now reads 7, 14, 21 etc.)
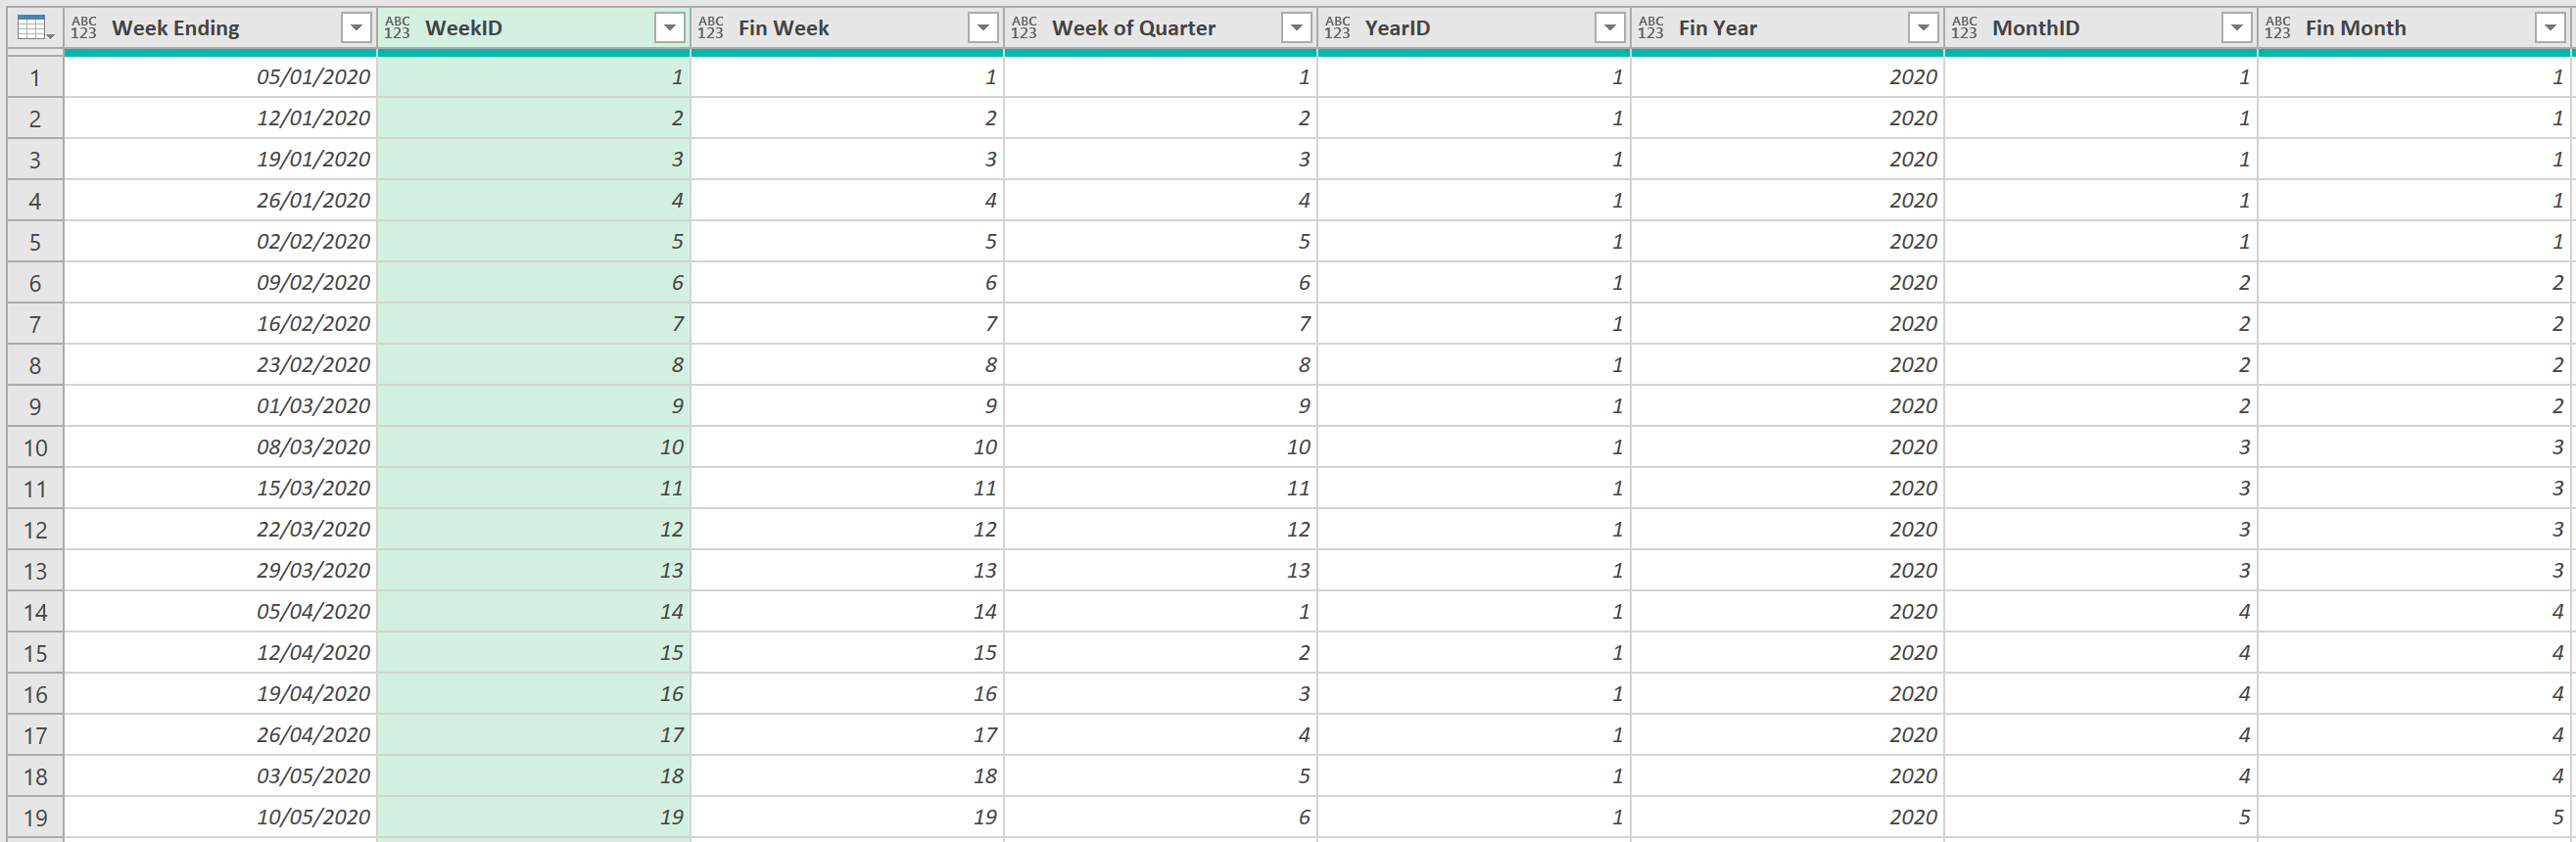
The Weekly Calendar Table should now look something like this…
Feedback
Submit and view feedback