
Word Form to Excel Table
Background
Not everyone enters data directly into a Spreadsheet. In many work environments, often the source is some kind of “form”. For example, a detailed user form might be manually filled out on a computer, then printed, then signed, and a hard copy retained for later use. Sometimes, key information may then have to be taken from that form, and re-entered back into a computer, into some kind of “tabularised” database for subsequent analysis.
In this article we explain a solution that simplifies the process a little, so that data can be sent from a User Form, designed in Microsoft Word, which once completed, can be exported directly from the Form (in its digital state) to the spreadsheet package Microsoft Excel (also in its digital state) – without having to manually re-key in this data (from the printed version of the form). The form itself can of course still be printed out for hard-copy record keeping as usual.
Benefits
This particular solution has certain distinct benefits:
Single Button Use
When the user has finished completing a form, they can send pre-assigned data fields to a separate spreadsheet, through the press of a just single button.
Keep data in precise addressable locations
Relevant fields can be sent as an additional record in a precisely defined Excel Table, on a precisely defined WorkSheet, (in a precisely defined file)! - so, the user can choose exactly where they would like to store the data, giving them more control.
Spreadsheet tables
Keeping data housed in Tables has its own advantages:
- It allows the data to be more easily exported to other tools that might be connected to it, such as Microsoft Excel’s own “Power Pivot” functionality
- If you need to export the data to other softwares, this can be done by simply referring to the Table’s name
- It also means that the Table, Sheet, and File names only ever need to be specified ONCE. This is particularly useful if data needs to be regularly sent or kept across several different datasets, across several separate WorkSheets, in a large WorkBook, something that can become unwieldy to manage, very, very quickly!
Screen shots of User Form and Excel Tables
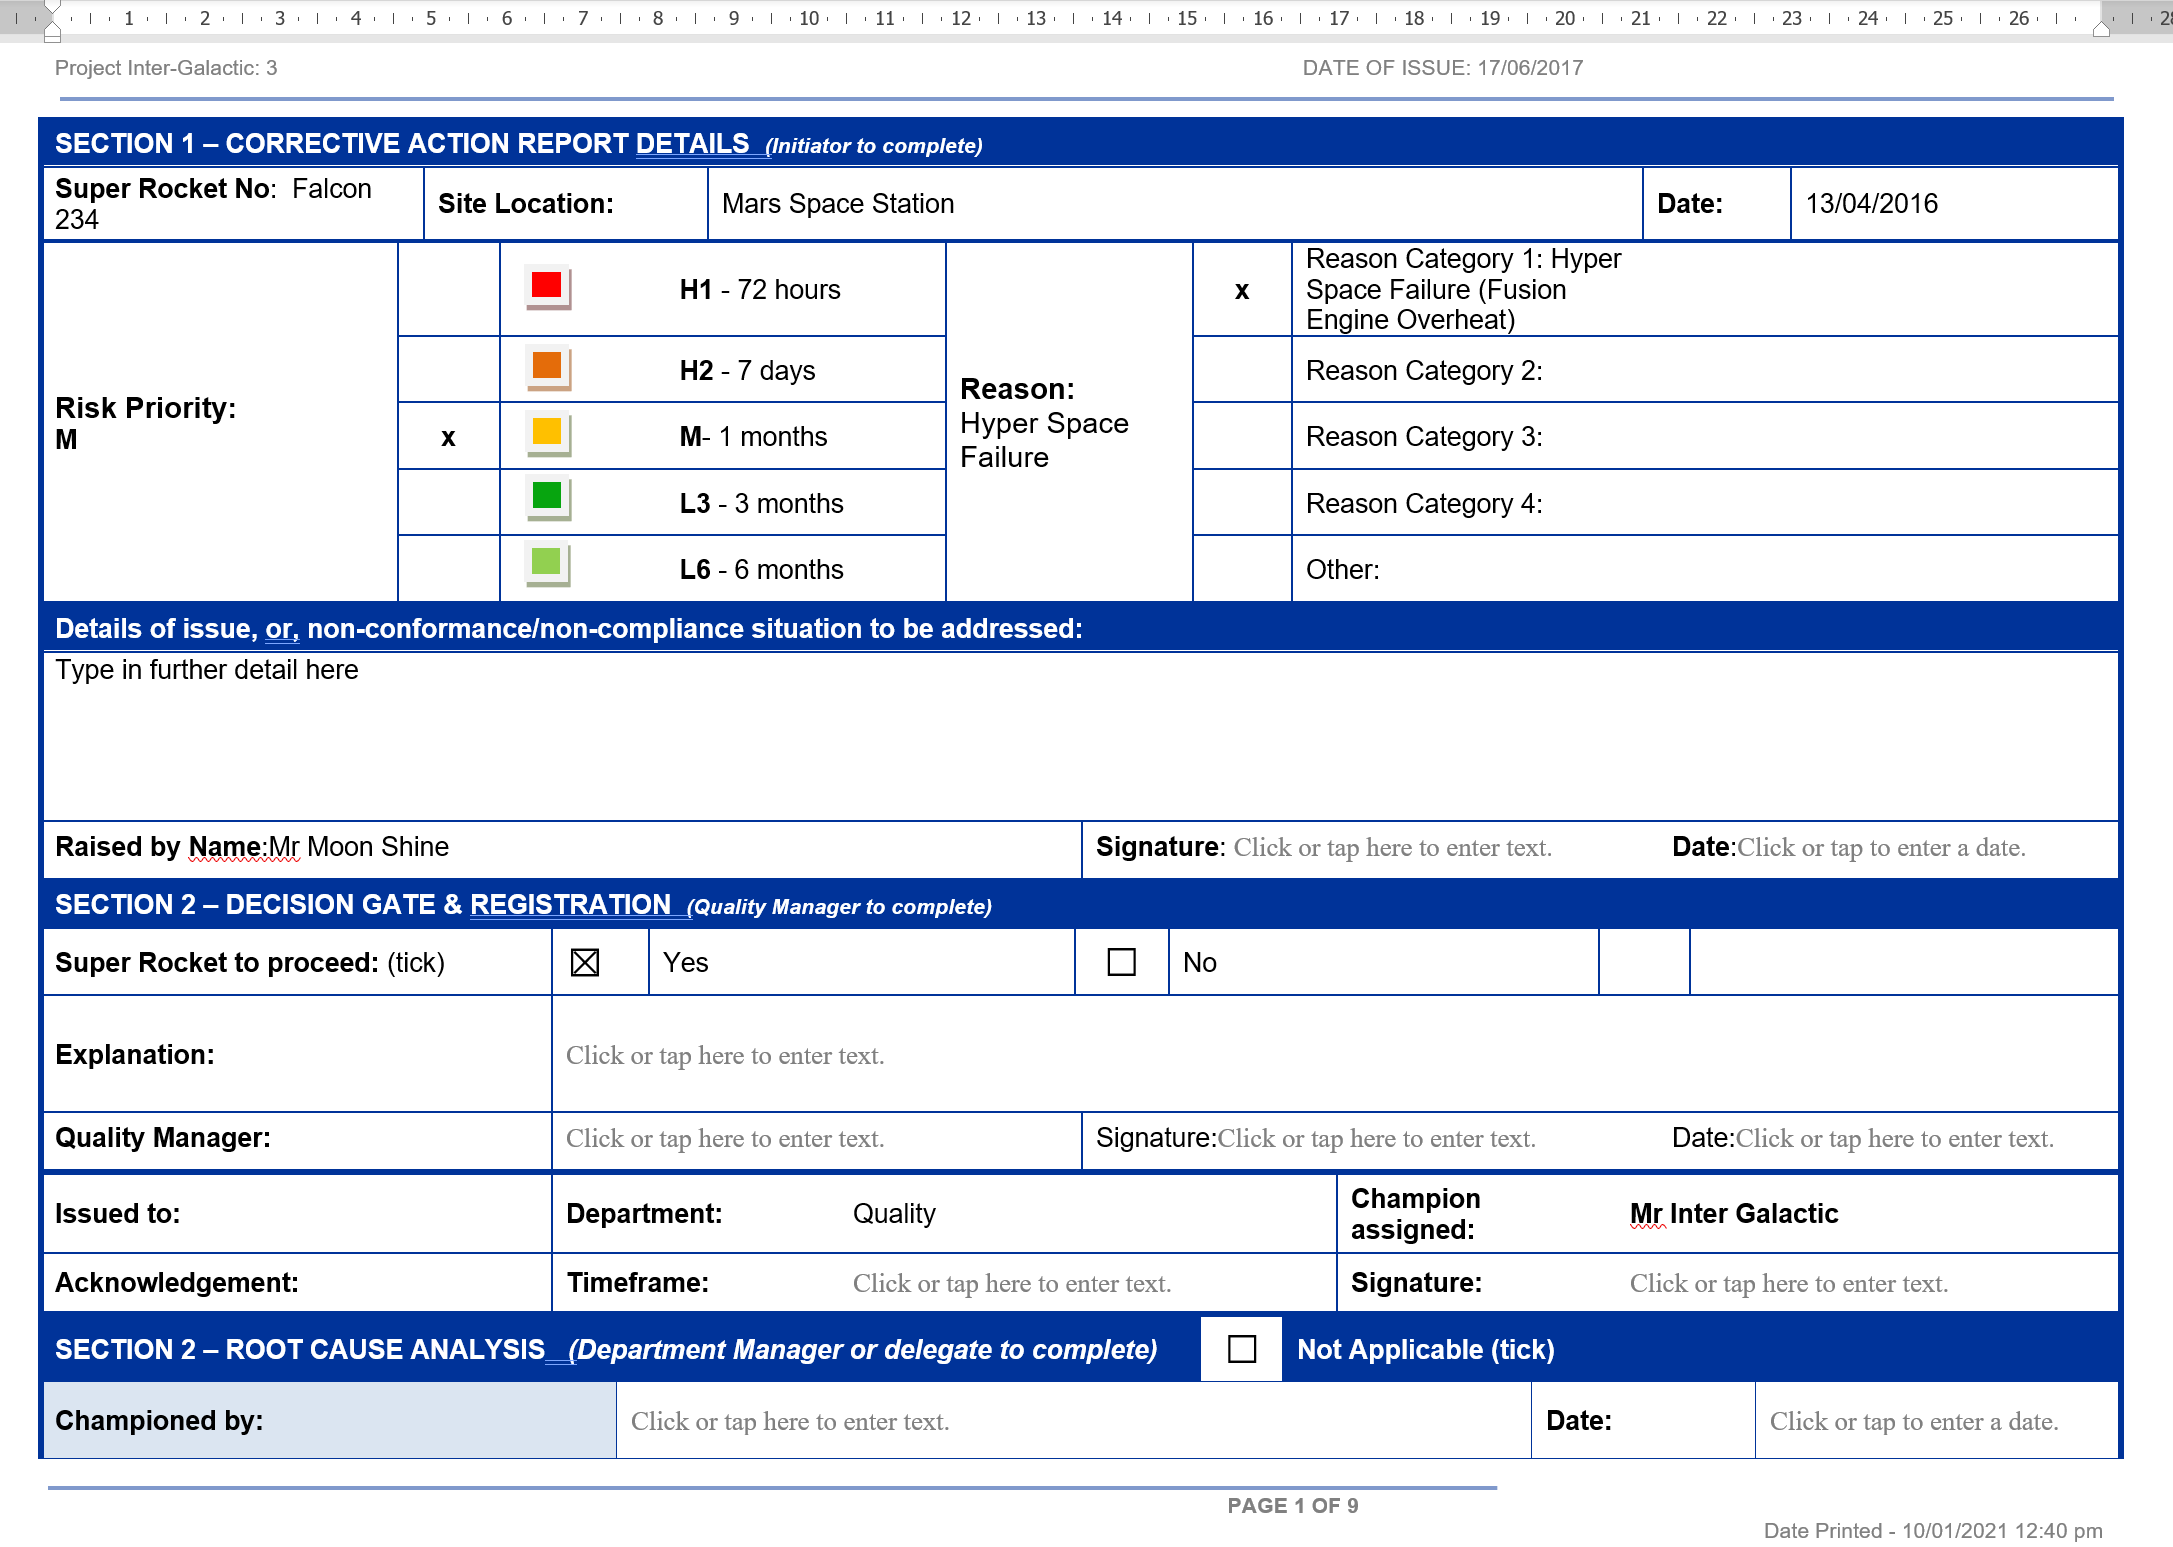
Here is an example of what a user form might look like - though you can design and customize one to suit your own needs.
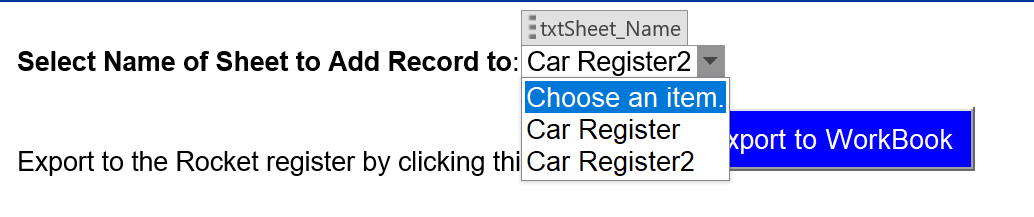
Choose the name of target sheet
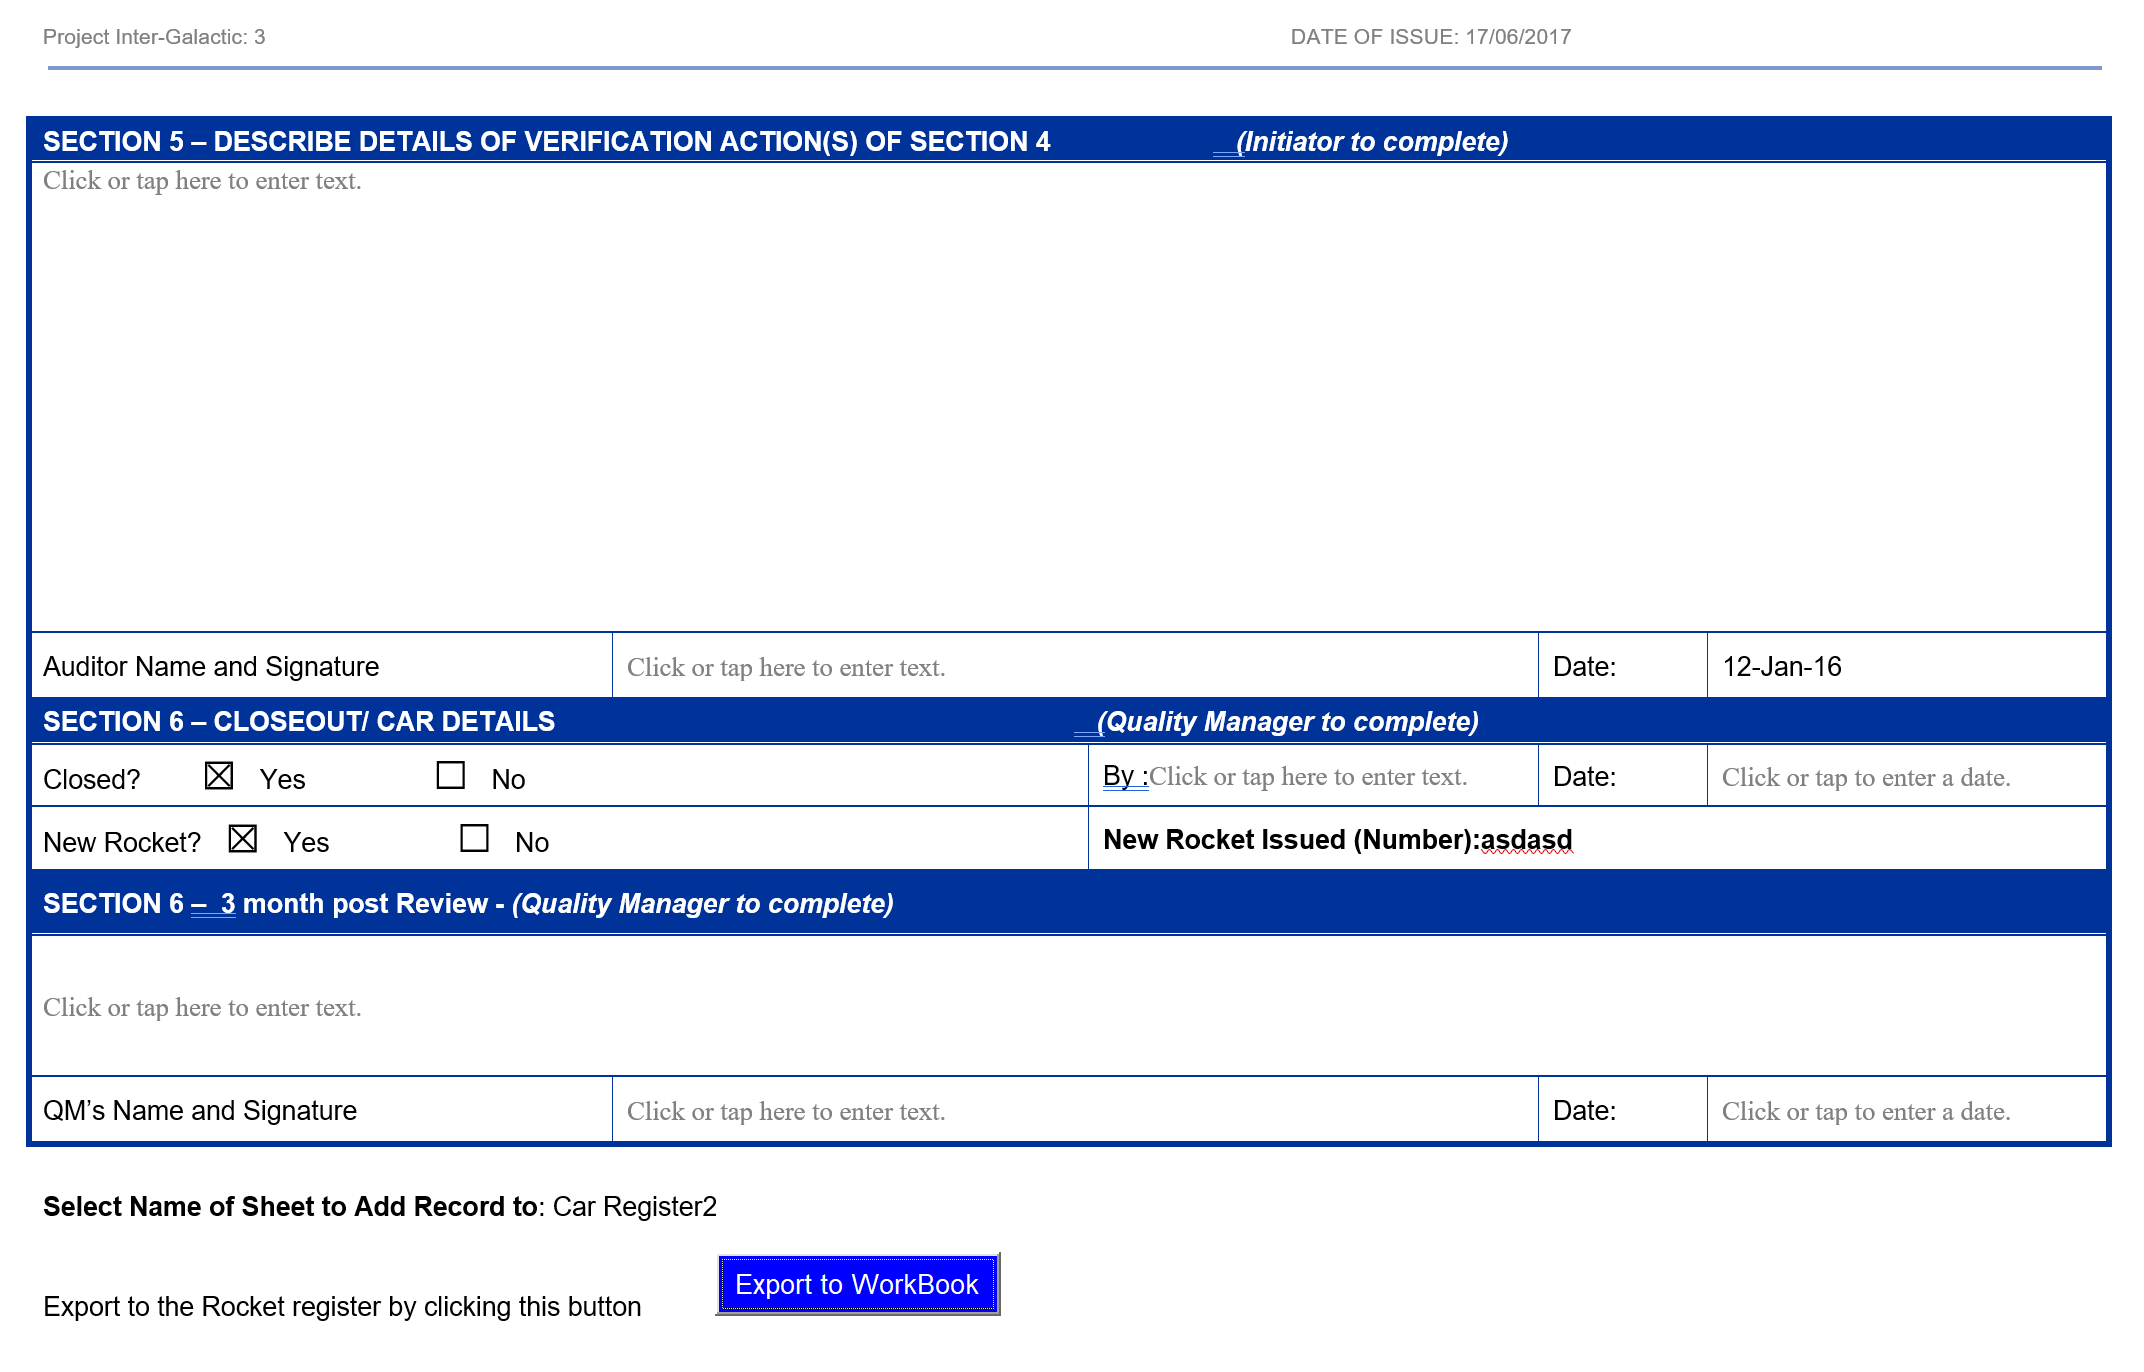
Having completed the form, the next step is to then specify the WorkSheet you wish to Export the data to. After this, you then press the ‘Export to WorkBook’ button.
Include Pictures (optional)
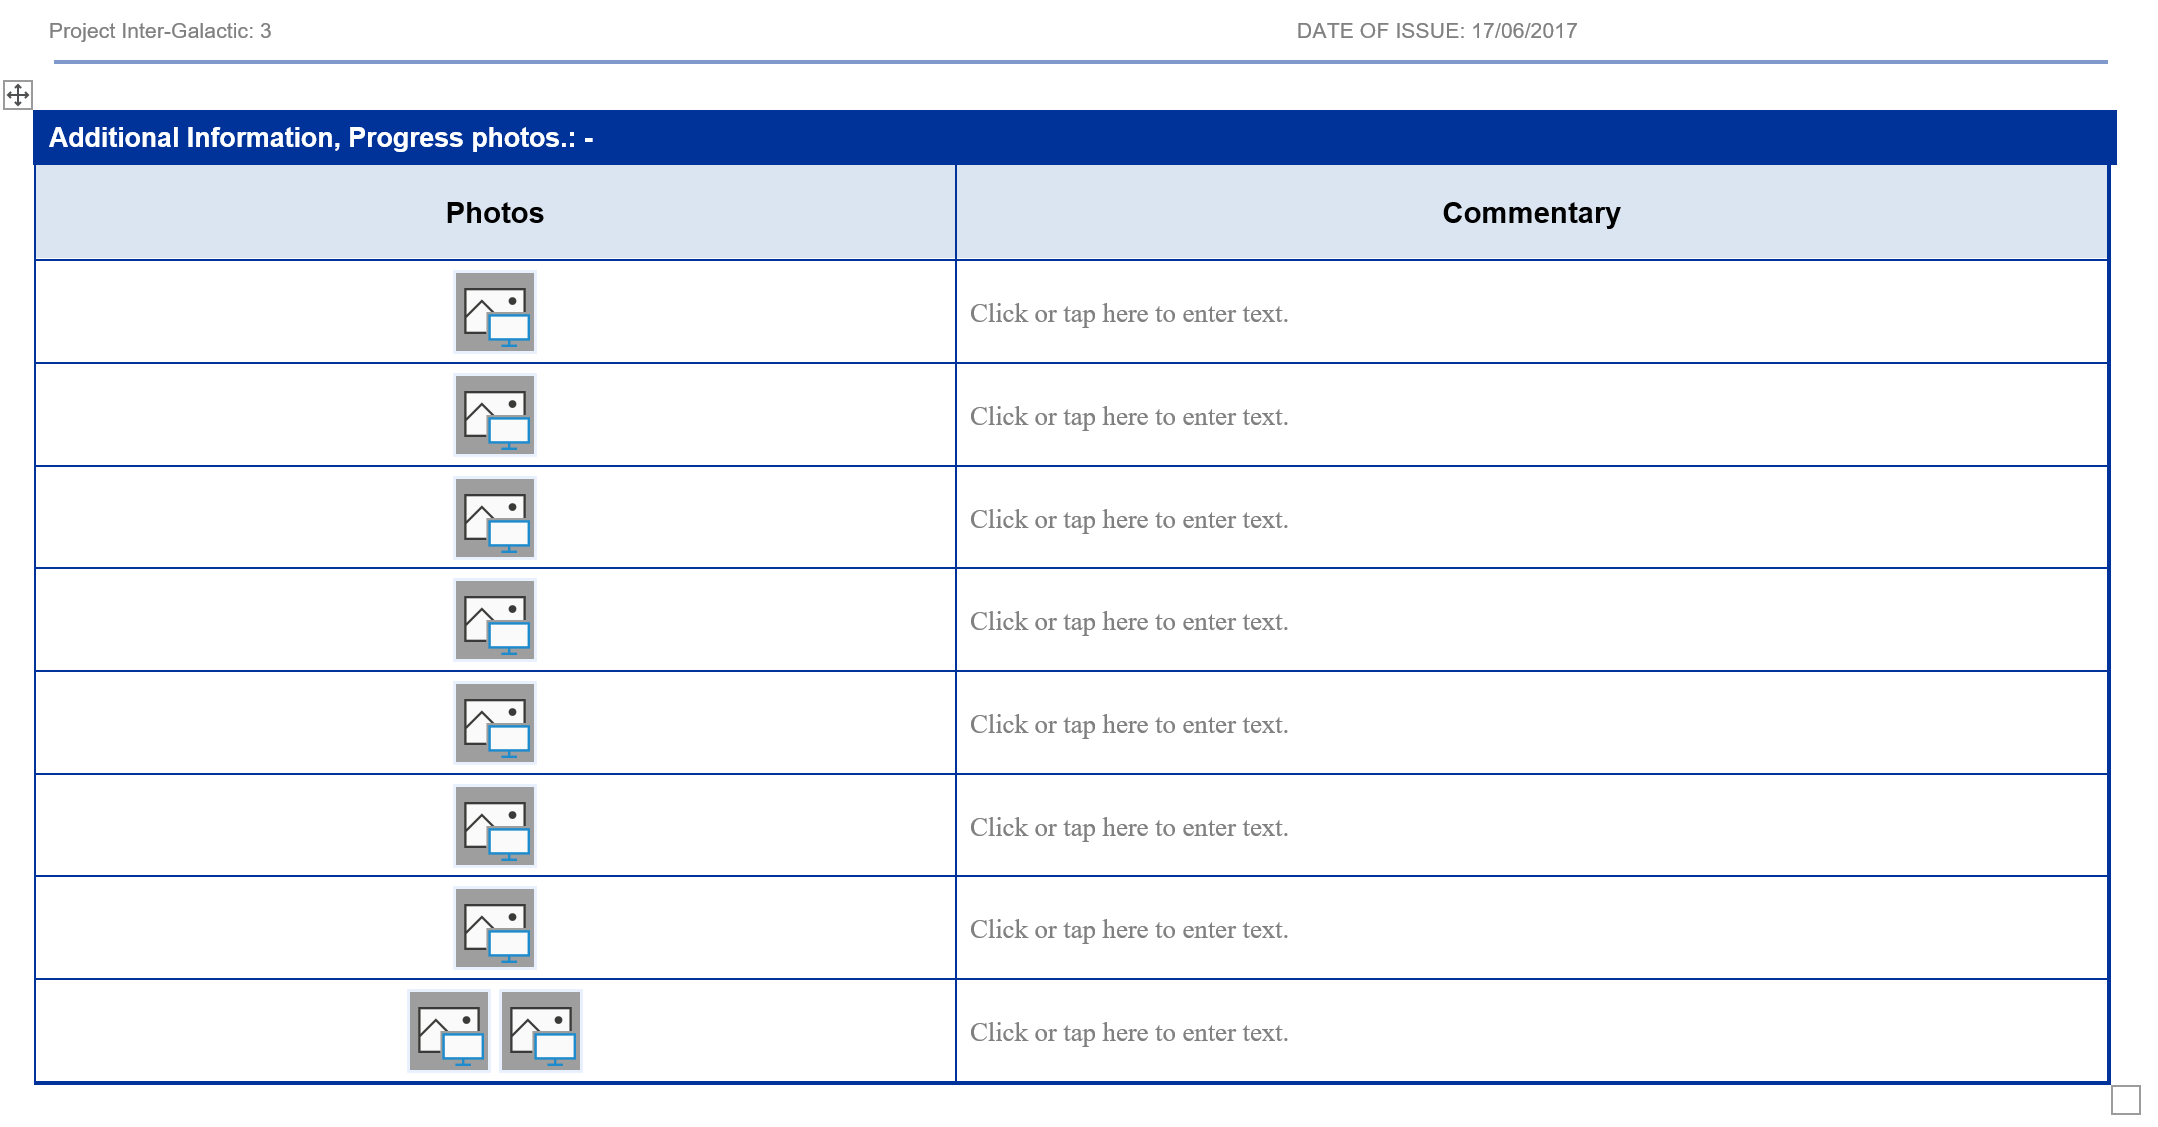
Pictures may also be included on the form.
Excel WorkBook
After pressing the export button, you should see the data populated automatically in the Table in the WorkSheet that was specified earlier (in this case, in the sheet called: “CAR Register”).

Click to view large-sized image
You can then print out both the original Microsoft Word User Form, and file it away, and save the data in a Spreadsheet, that can quickly be retrieved for later use!
Create VBA Module
Use the following VBA Code to create a Macro. Ensure you assign it to the Export button in the form. Ensure too you set the correct file path to where the Excel file is stored.
Sub Export_Click()

 'Define variables
    Dim xlApp As New Excel.Application, xlWkBk As Excel.Workbook, xlWkSht As Excel.Worksheet
    Dim xlTable As Excel.ListObject
    Dim table_object_row As Excel.ListRow
    Dim Sheet_name As String

  'Set the Sheet Variable to the chosen sheet
    Sheet_name = SelectContentControlsByTitle("txtSheet_Name")(1).Range.Text

    With xlApp
  'Hide our Excel session
    .Visible = True 'False

  'Open the workbook
    Set xlWkBk = .Workbooks.Open("C:\Users\ABC\OneDrive\Desktop\Excel File.xlsx", AddToMRU:=False)

  'Select the chosen sheet and select the first table in that sheet
    Set xlWkSht = xlWkBk.Sheets(Sheet_name)
    Set xlTable = xlWkSht.ListObjects(1)

  'Add an extra row to the chosen Table
    Set table_object_row = xlTable.ListRows.Add

  'Display Record No. being added in a Message Box
    MsgBox ("Record #: " & xlTable.ListRows.Count & " being added" & " to Sheet: " & Sheet_name)

  'Update the table in the first table in the chosen sheet in the WorkBook
    With ActiveDocument
        table_object_row.Range(1, 1).Value = .SelectContentControlsByTitle("txtCARNumber")(1).Range.Text
        table_object_row.Range(1, 2).Value = .SelectContentControlsByTitle("txtCategory")(1).Range.Text
        table_object_row.Range(1, 3).Value = .SelectContentControlsByTitle("txtDepartment")(1).Range.Text
        table_object_row.Range(1, 4).Value = .SelectContentControlsByTitle("txtLocation")(1).Range.Text
        table_object_row.Range(1, 5).Value = .SelectContentControlsByTitle("txtInitiator")(1).Range.Text
        table_object_row.Range(1, 6).Value = .SelectContentControlsByTitle("txtResponsible")(1).Range.Text
        table_object_row.Range(1, 7).Value = .SelectContentControlsByTitle("txtDateRaised")(1).Range.Text
        table_object_row.Range(1, 8).Value = .SelectContentControlsByTitle("txtDetails")(1).Range.Text
        table_object_row.Range(1, 9).Value = .SelectContentControlsByTitle("txtPriority")(1).Range.Text
        table_object_row.Range(1, 10).Value = .SelectContentControlsByTitle("txtDateComplete")(1).Range.Text
        table_object_row.Range(1, 11).Value = .SelectContentControlsByTitle("txtDateVerified")(1).Range.Text
  End With

   'Save & Close the Excel workbook
      xlWkBk.Close SaveChanges:=True
       .Quit
        End With

    'Release object memory
        Set xlWkSht = Nothing: Set xlWkBk = Nothing: Set xlApp = Nothing

    'Tell the user that the record has been added
        MsgBox "Record added to WorkBook.", vbOKOnly

End Sub

Private Sub CommandButton1_Click()
   Call Export_Click
End Sub
Activate correct VBA Objects (in Word)
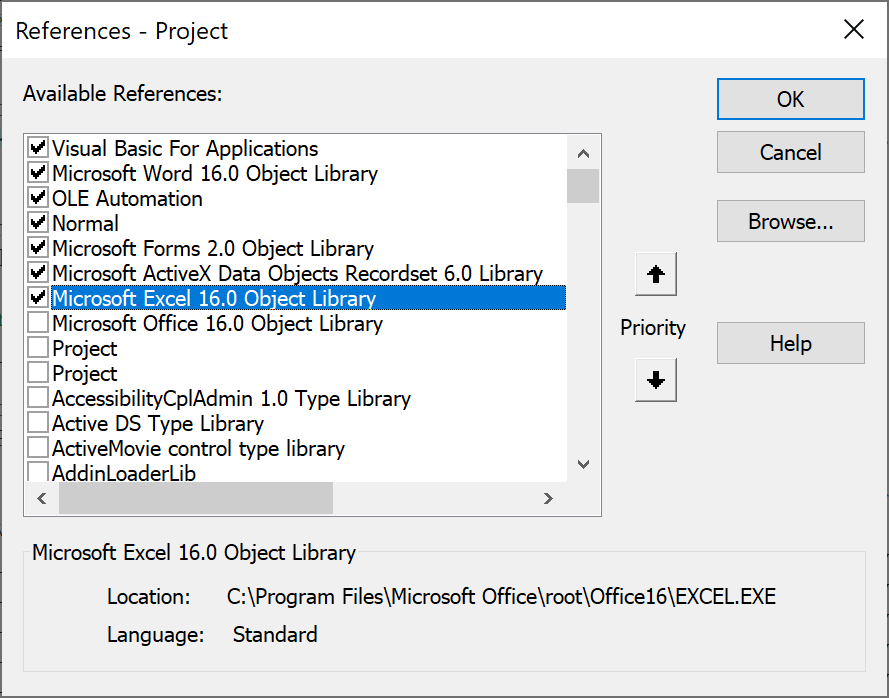
For the solution to work, ensure that you have the following checked under references in Microsoft Word - especially ‘Microsoft Excel 16.0 Object Library’ or greater. To do this, click on VBA Editor, then Choose the Tools menu, then ‘References’ and select the correct library. You need to do this in the VBA editor in Microsoft Word (not Microsoft Excel).
That’s it! After activating the above, the form should now work!
Download
The full files can be downloaded here:
Feedback
Submit and view feedback