
Data Cop! - detecting revenue changes
Introduction
Ok, as Chief Investment Officer, you have just been told that Galactic Ventures Limited has just been hit by another cyber-attack. According to latest information from the engineers in the engine room, you have been told that the attackers tampered with the revenue values in the data warehouse!
After some initial quick, fact finding, you find out the following:
- You know that the Hacker made a few changes to the Revenue column – which you need to find out!
- You also know that the Hacker added a few rows of their own – which you need to find out!
- You also suspect the Hacker could have done a few other naughty things!
As of now you only have the time and resources to try and resolve points 1 and 2 – so you focus on those.
You set about tackling each challenge, one by one.
Challenge 1 – value changes
So, how do you find the rows where the Hacker has changed the figures in the Revenue figures in the Revenue Column?
There are over 100,000+ rows in this relatively small dataset, and you really do not have 2 weeks for this. Yes, you could use some technique like VLOOKUPs, but you are not a Caveman Cop, and don’t live in the 1980s, so you decide on something a bit more robust, and flexible!
You have obtained access to both the original and compromised revenue datasets, which you lay out below:
Now, you head straight in!
1. Load Original data
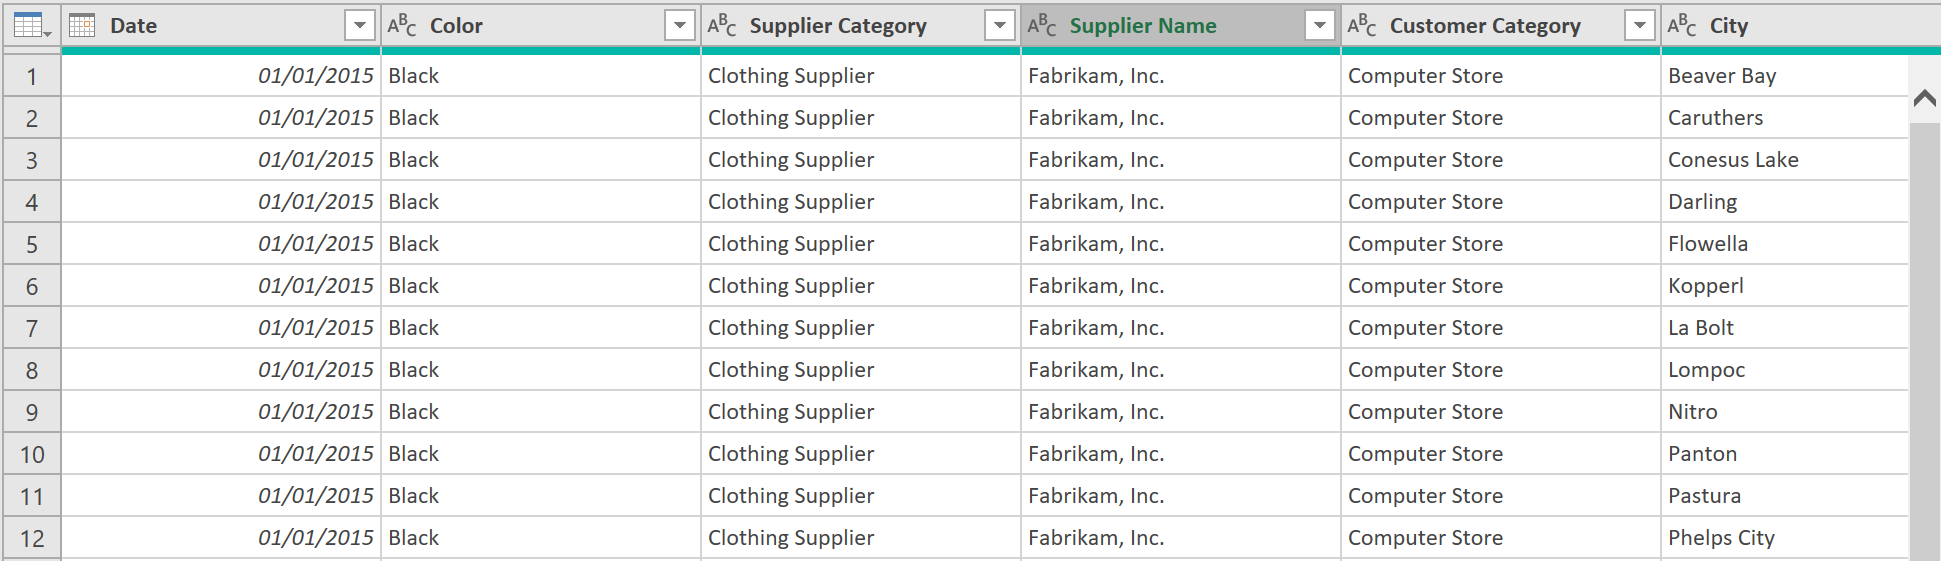
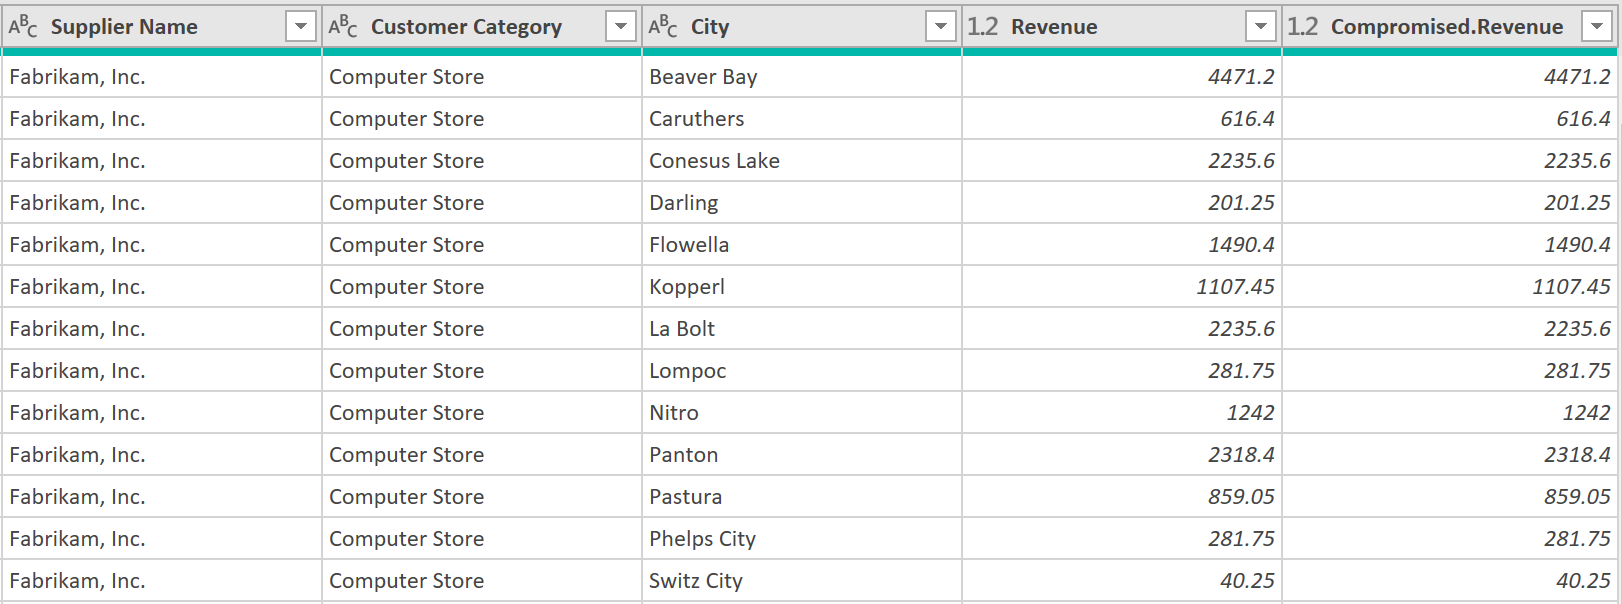
- Fetch the original revenue data, so it looks like this:

- Then select the revenue table, so loads into the editor:

- Call the query ‘Correct’ and load the query as a connection only
2. Load Compromised data:
- Then get the compromised Revenue data:

- Navigate to the appropriate table, like so:
- Call the query ‘Correct’ and load the query also as a connection only
3. Merge and compare Revenue sources:
To find those rows, where the revenue figures may have been changed, you need to perform an inner join.
To do this:
- Select the query called “Correct”
- Then, on the Home Tab, select “Merge Queries”, then “Merge Queries as New”
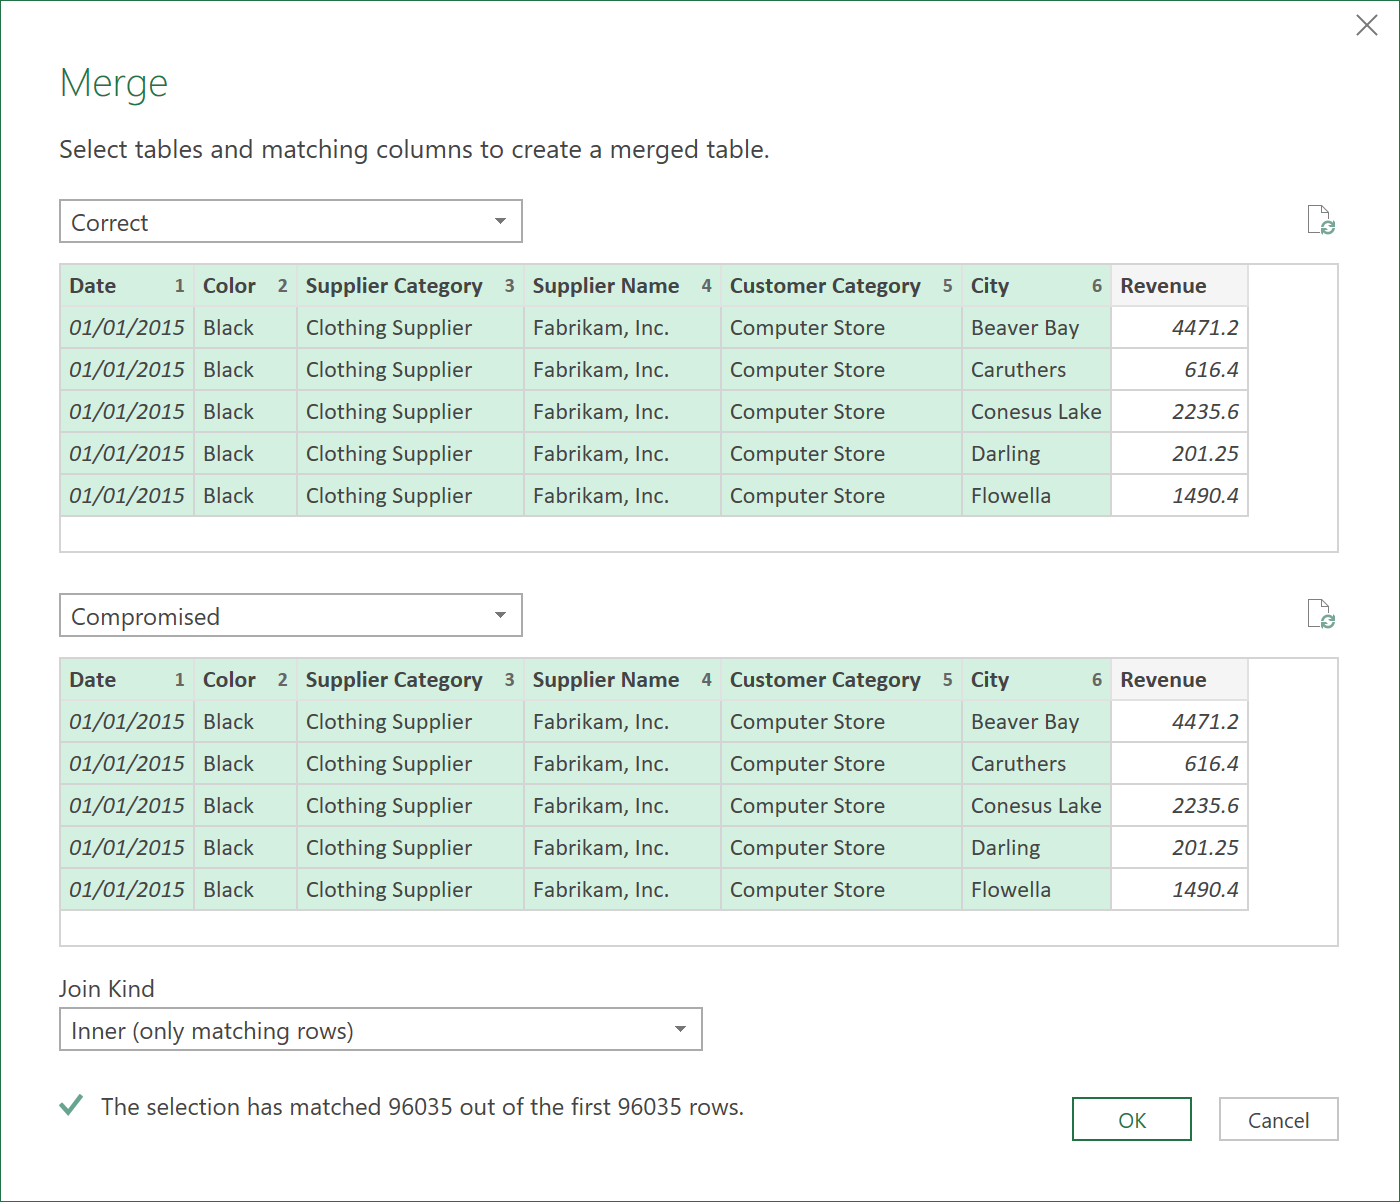
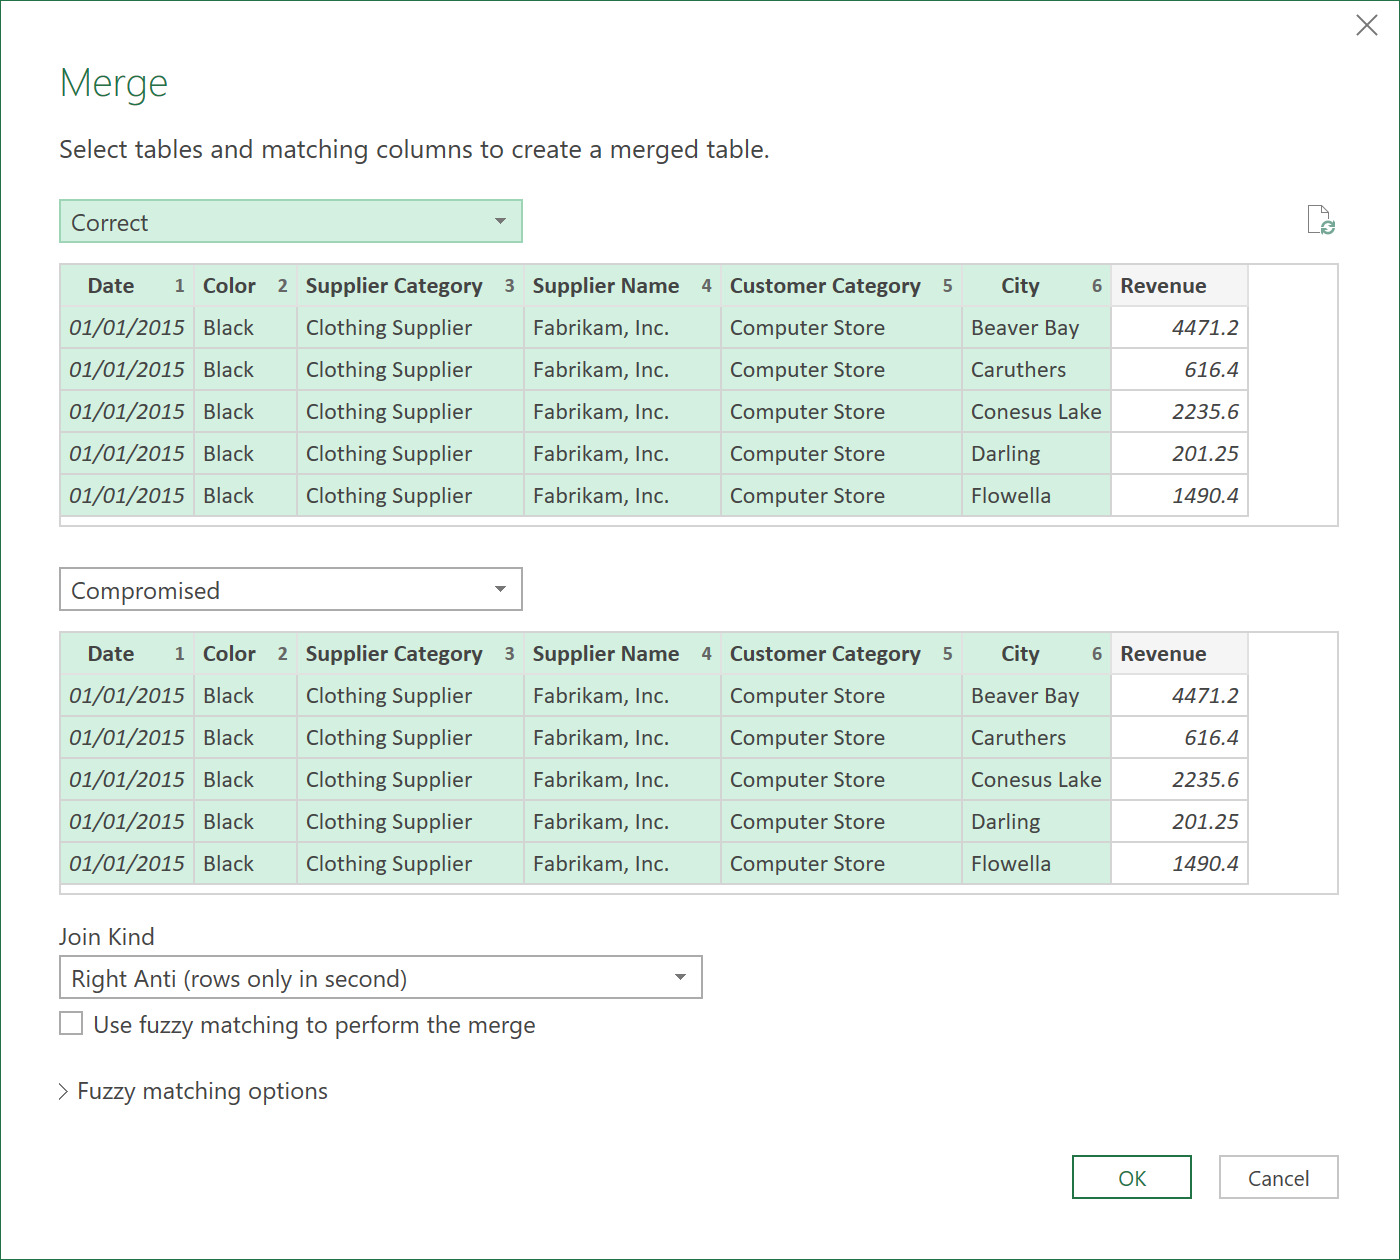
Then, in the Merge dialogue box that appears, you choose the following settings:
- Choose the Query called “Correct”.
- Make sure you select the columns: Date, Color, Supplier Category, Supplier Name, Customer Category, City. (in that order!)
- In the bottom half, choose the query called “Compromised” – similarly, all the matching columns (in the same order).
- Under Join Kind, choose “Inner (only matching rows)”
4. Expand the data:
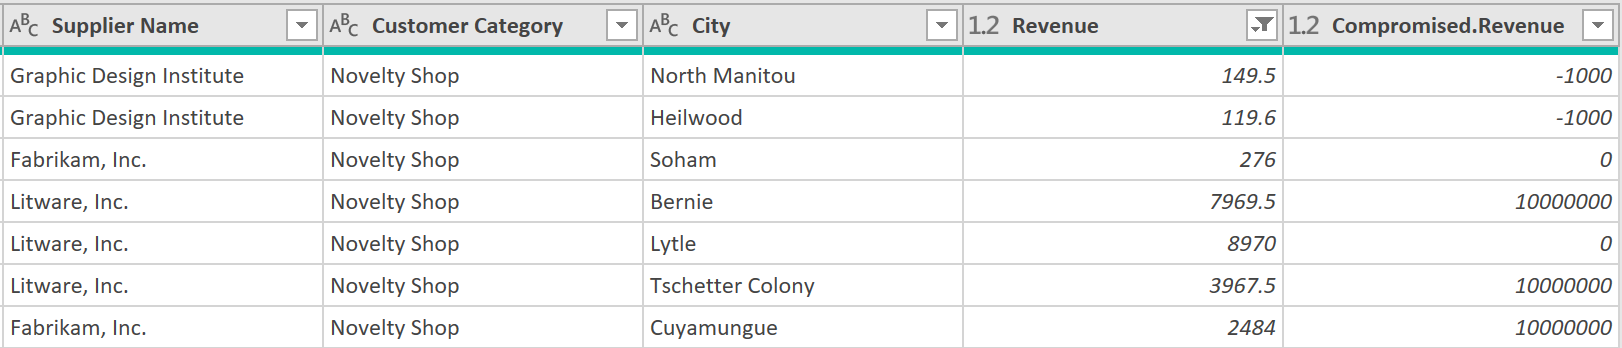
After doing the inner join, the data should look like this:
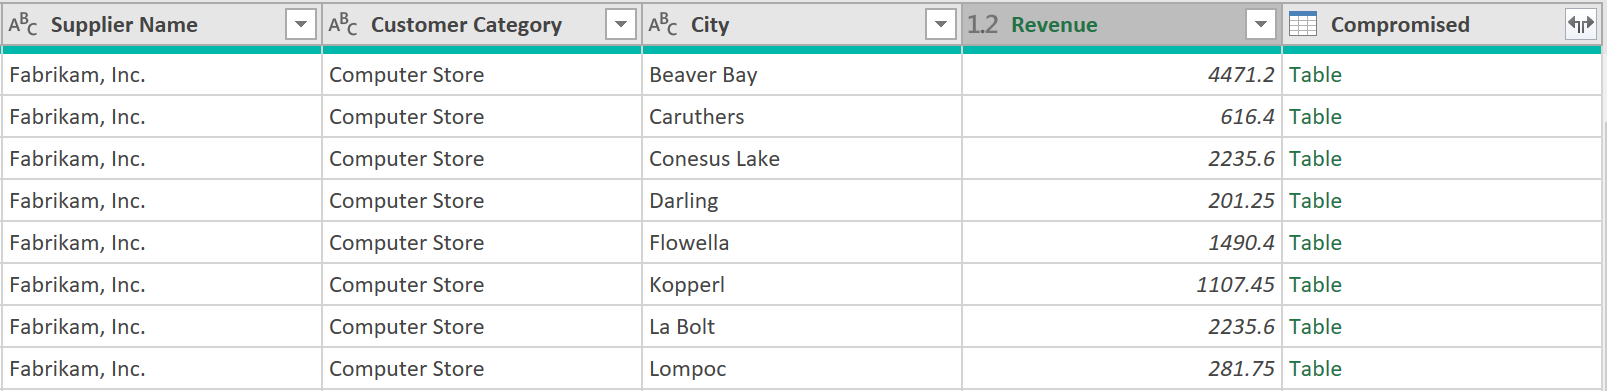
Then expand the column called “Compromised”, deselecting all columns except for “Revenue”. This time, you leave the option called, “use original column name as prefix”, as ticked.
Your data then looks like this:
5. Add a custom column:
Now, add the following code to the custom column
= Table.SelectRows(#"Expanded Compromised", each [Revenue] <> [Compromised.Revenue] )
This very powerful line (there is just one line here, not 100,000 VLOOKUPS), that filters the entire dataset to only those rows with differing values in the “Revenue” and “Compromise Revenue” columns.
6. Close & load
Finally, click on “Close & Load” – to load the results into the worksheet

Challenge 2 – record additions
At this point, you are feeling quite proud of your work and results, but then you think back to what else could have been compromised?
What else could the Hacker have done? What about rows that might have been added? How can you try and find them?
Good question!
You think!
Then you start!
1. Right Anti-Join
To find those rows that have been added by the Hacker, you rneed to perform a Right Anti-Join.
To, do this, you take the following action:
- Select the query called “Correct”
- Then, on the Home Tab, you select “Merge Queries”, then “Merge Queries as New”
Then, in the Merge dialogue box that appears, you choose the following settings:
- In the top half, you choose the query called “Correct”, selecting all columns, apart from “Revenue”.
- In the bottom half, choose the query called “Compromised”, selecting all columns, apart from “Revenue”
- THIS TIME, though, under “Join Kind”, you choose “Right Anti (rows only in second)”
The results should look as follows:

2. Remove Columns
- After performing the Right Anti Join, click on the column called “Compromised”, and right click, and select “Remove Other Columns”, so the data ends up looking like this:
3. Expand Data
- Expand ALL Fields from the column – as follows:

This returns just what is needed!
4. Close & Load
Finally, click “Close & Load” so you can see your results in the worksheet.

AFTER A GREAT DINNER OUT, THOUGH, YOU THEN YOU REALISE WHAT ELSE THE HACKER COULD HAVE DONE,…AND START THINKING OF A SOLUTION!
(Can you think of what you might have missed?)
Feedback
Submit and view feedback